Manage Groups
Learn how to create and manage customer groups in the vendor dashboard.
On this page
In this guide, you'll learn how to create and manage customer groups.
Segment Customers with Customer Groups
A customer group is a way to segment your customers based on certain criteria. You can use customer groups to apply promotions or offer different pricing.
For example, you can create a VIP customer group and offer them a 10% discount on all products. You can also create a wholesale customer group and offer them products at a discounted price for large orders.
View List of Customer Groups
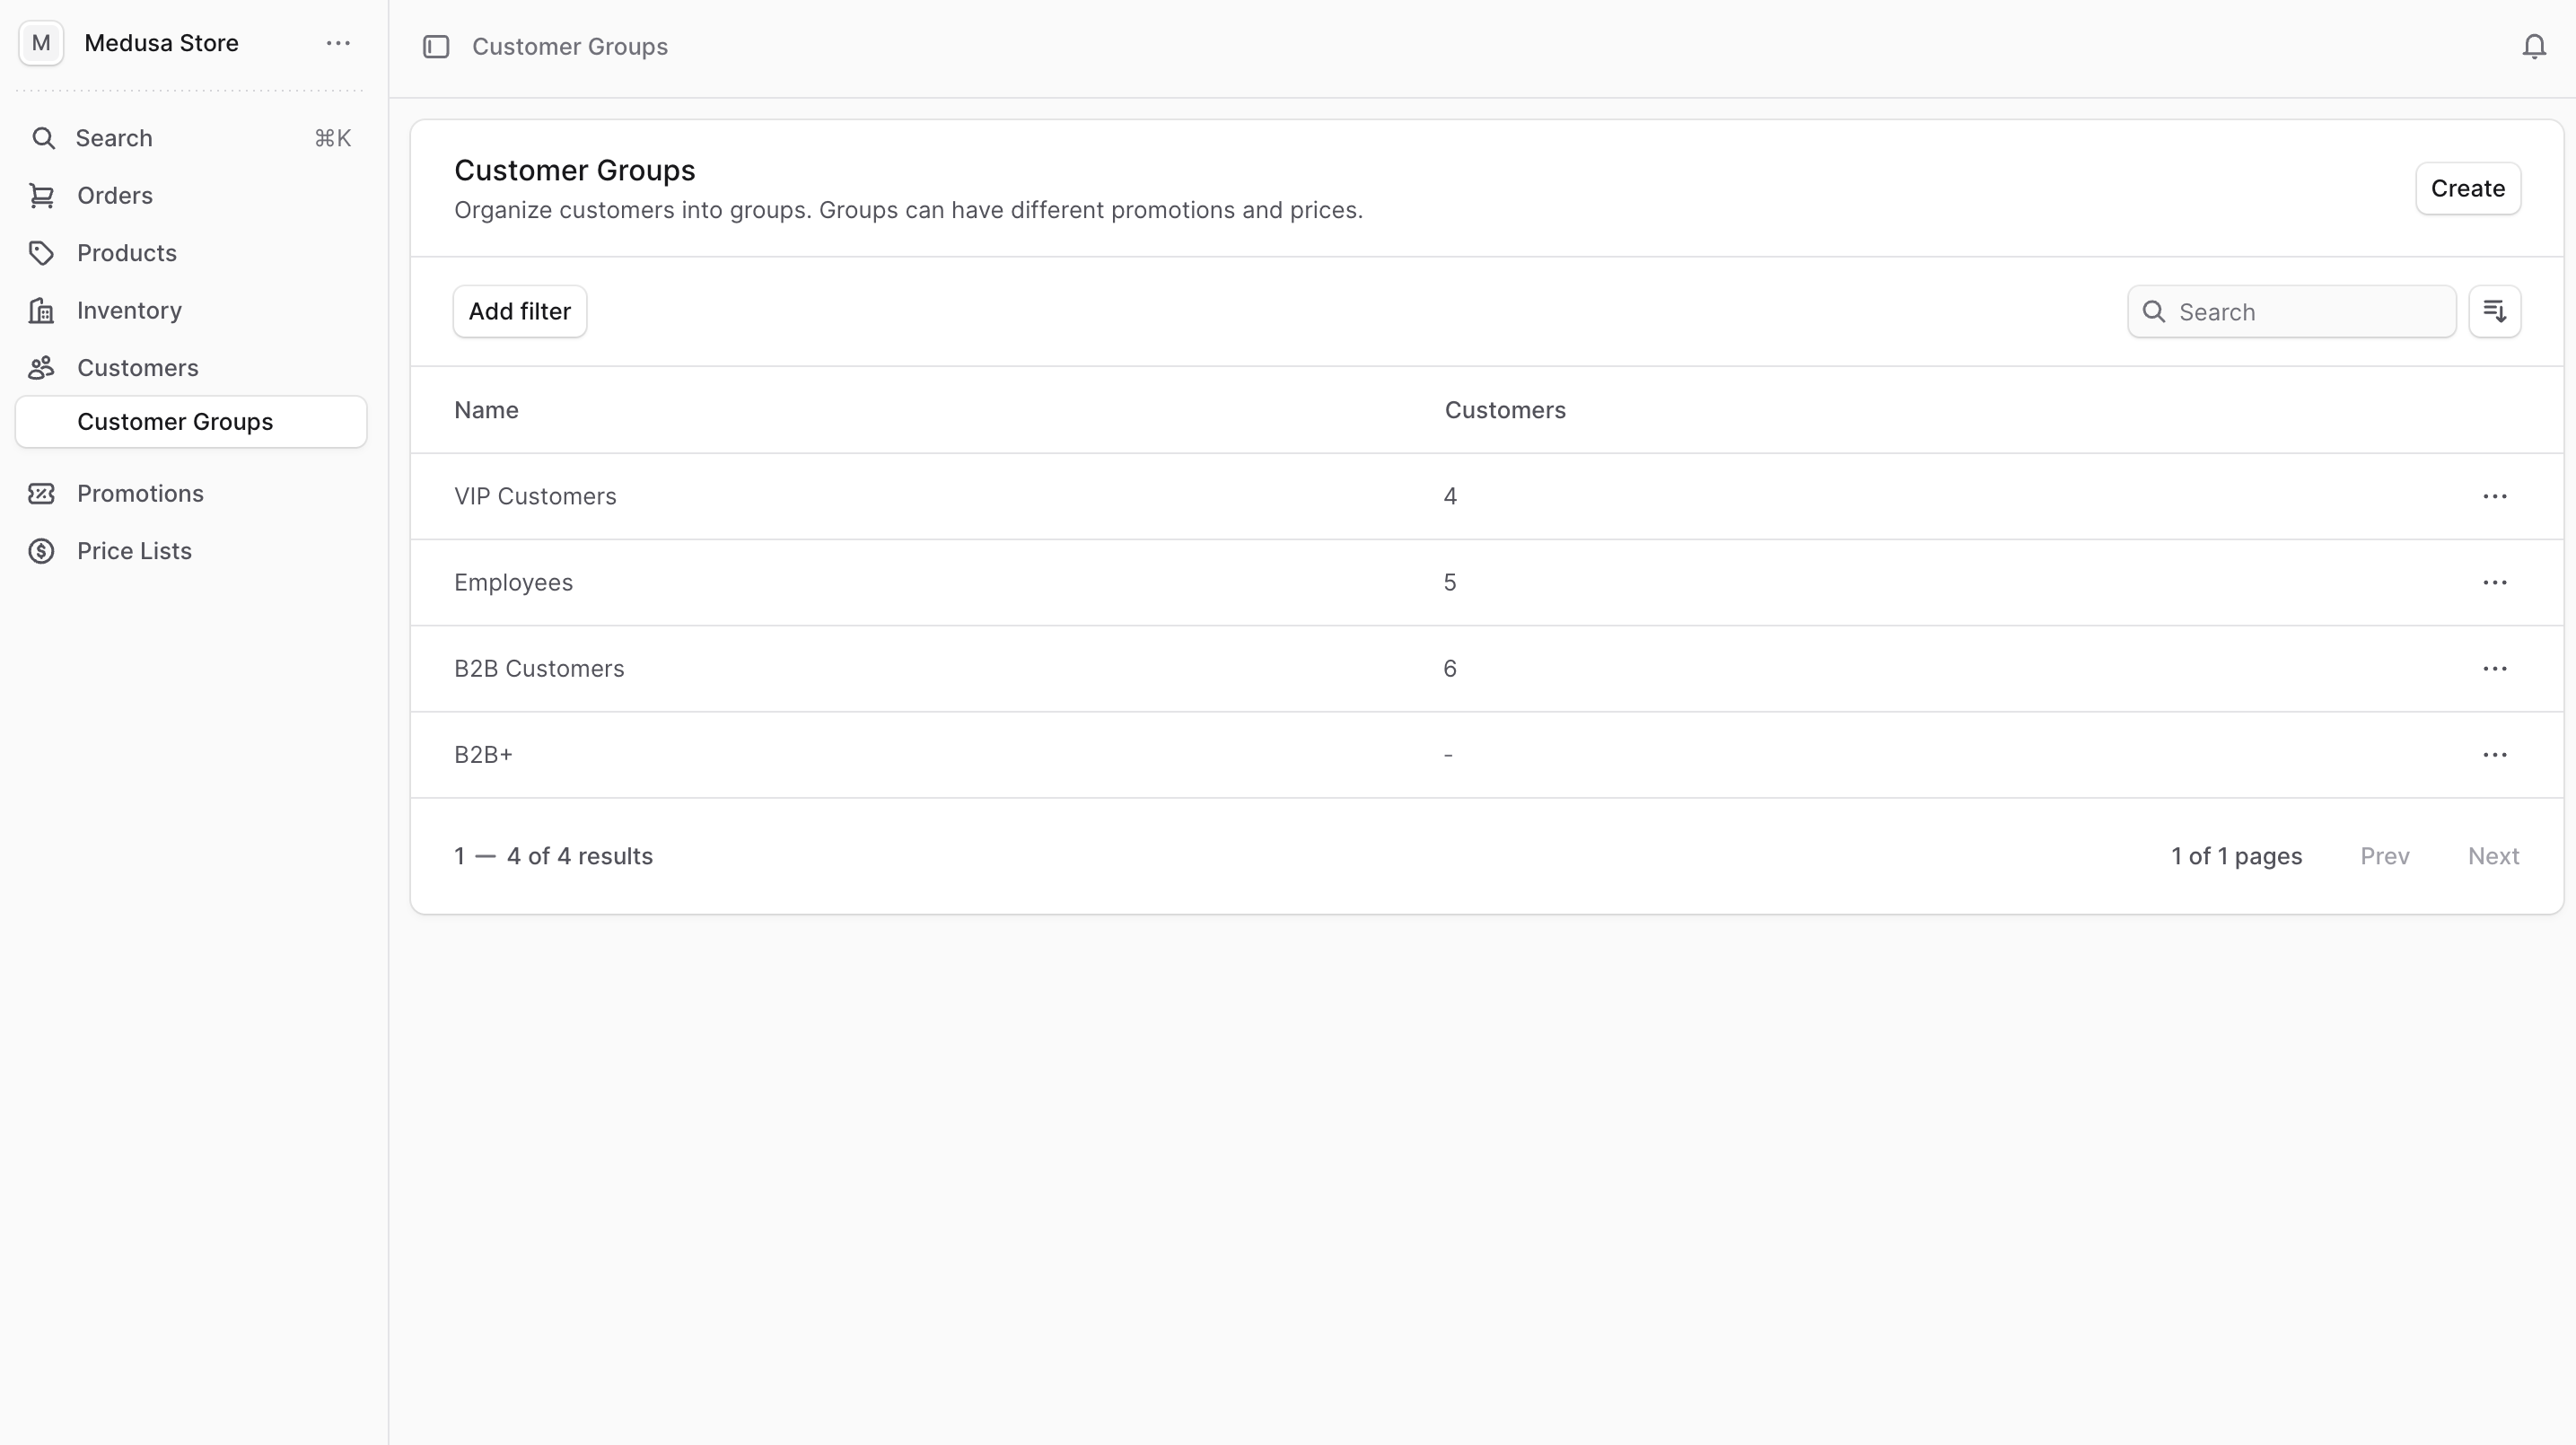
To view all customer groups, go to Customers → Customer Groups. From here, you can see a list, filter, and search through all customer groups.
Create a Customer Group
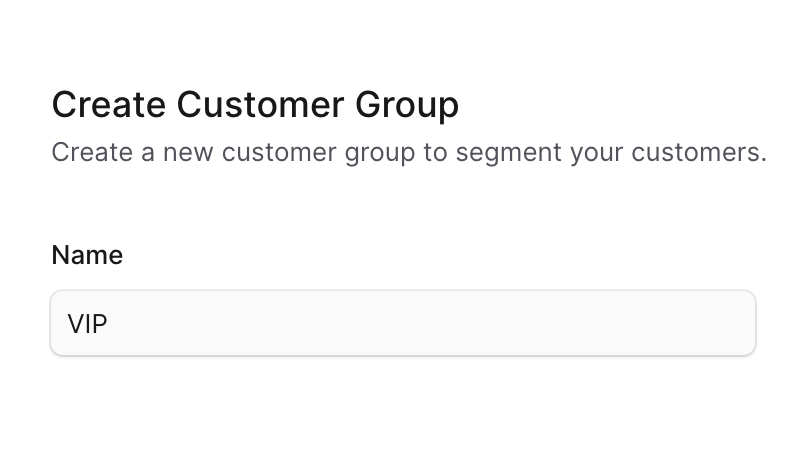
To create a customer group:
- Go to Customers → Customer Groups.
- Click Create.
- In the form that opens, enter the customer group's name.
- Click Create.
View Customer Group Details
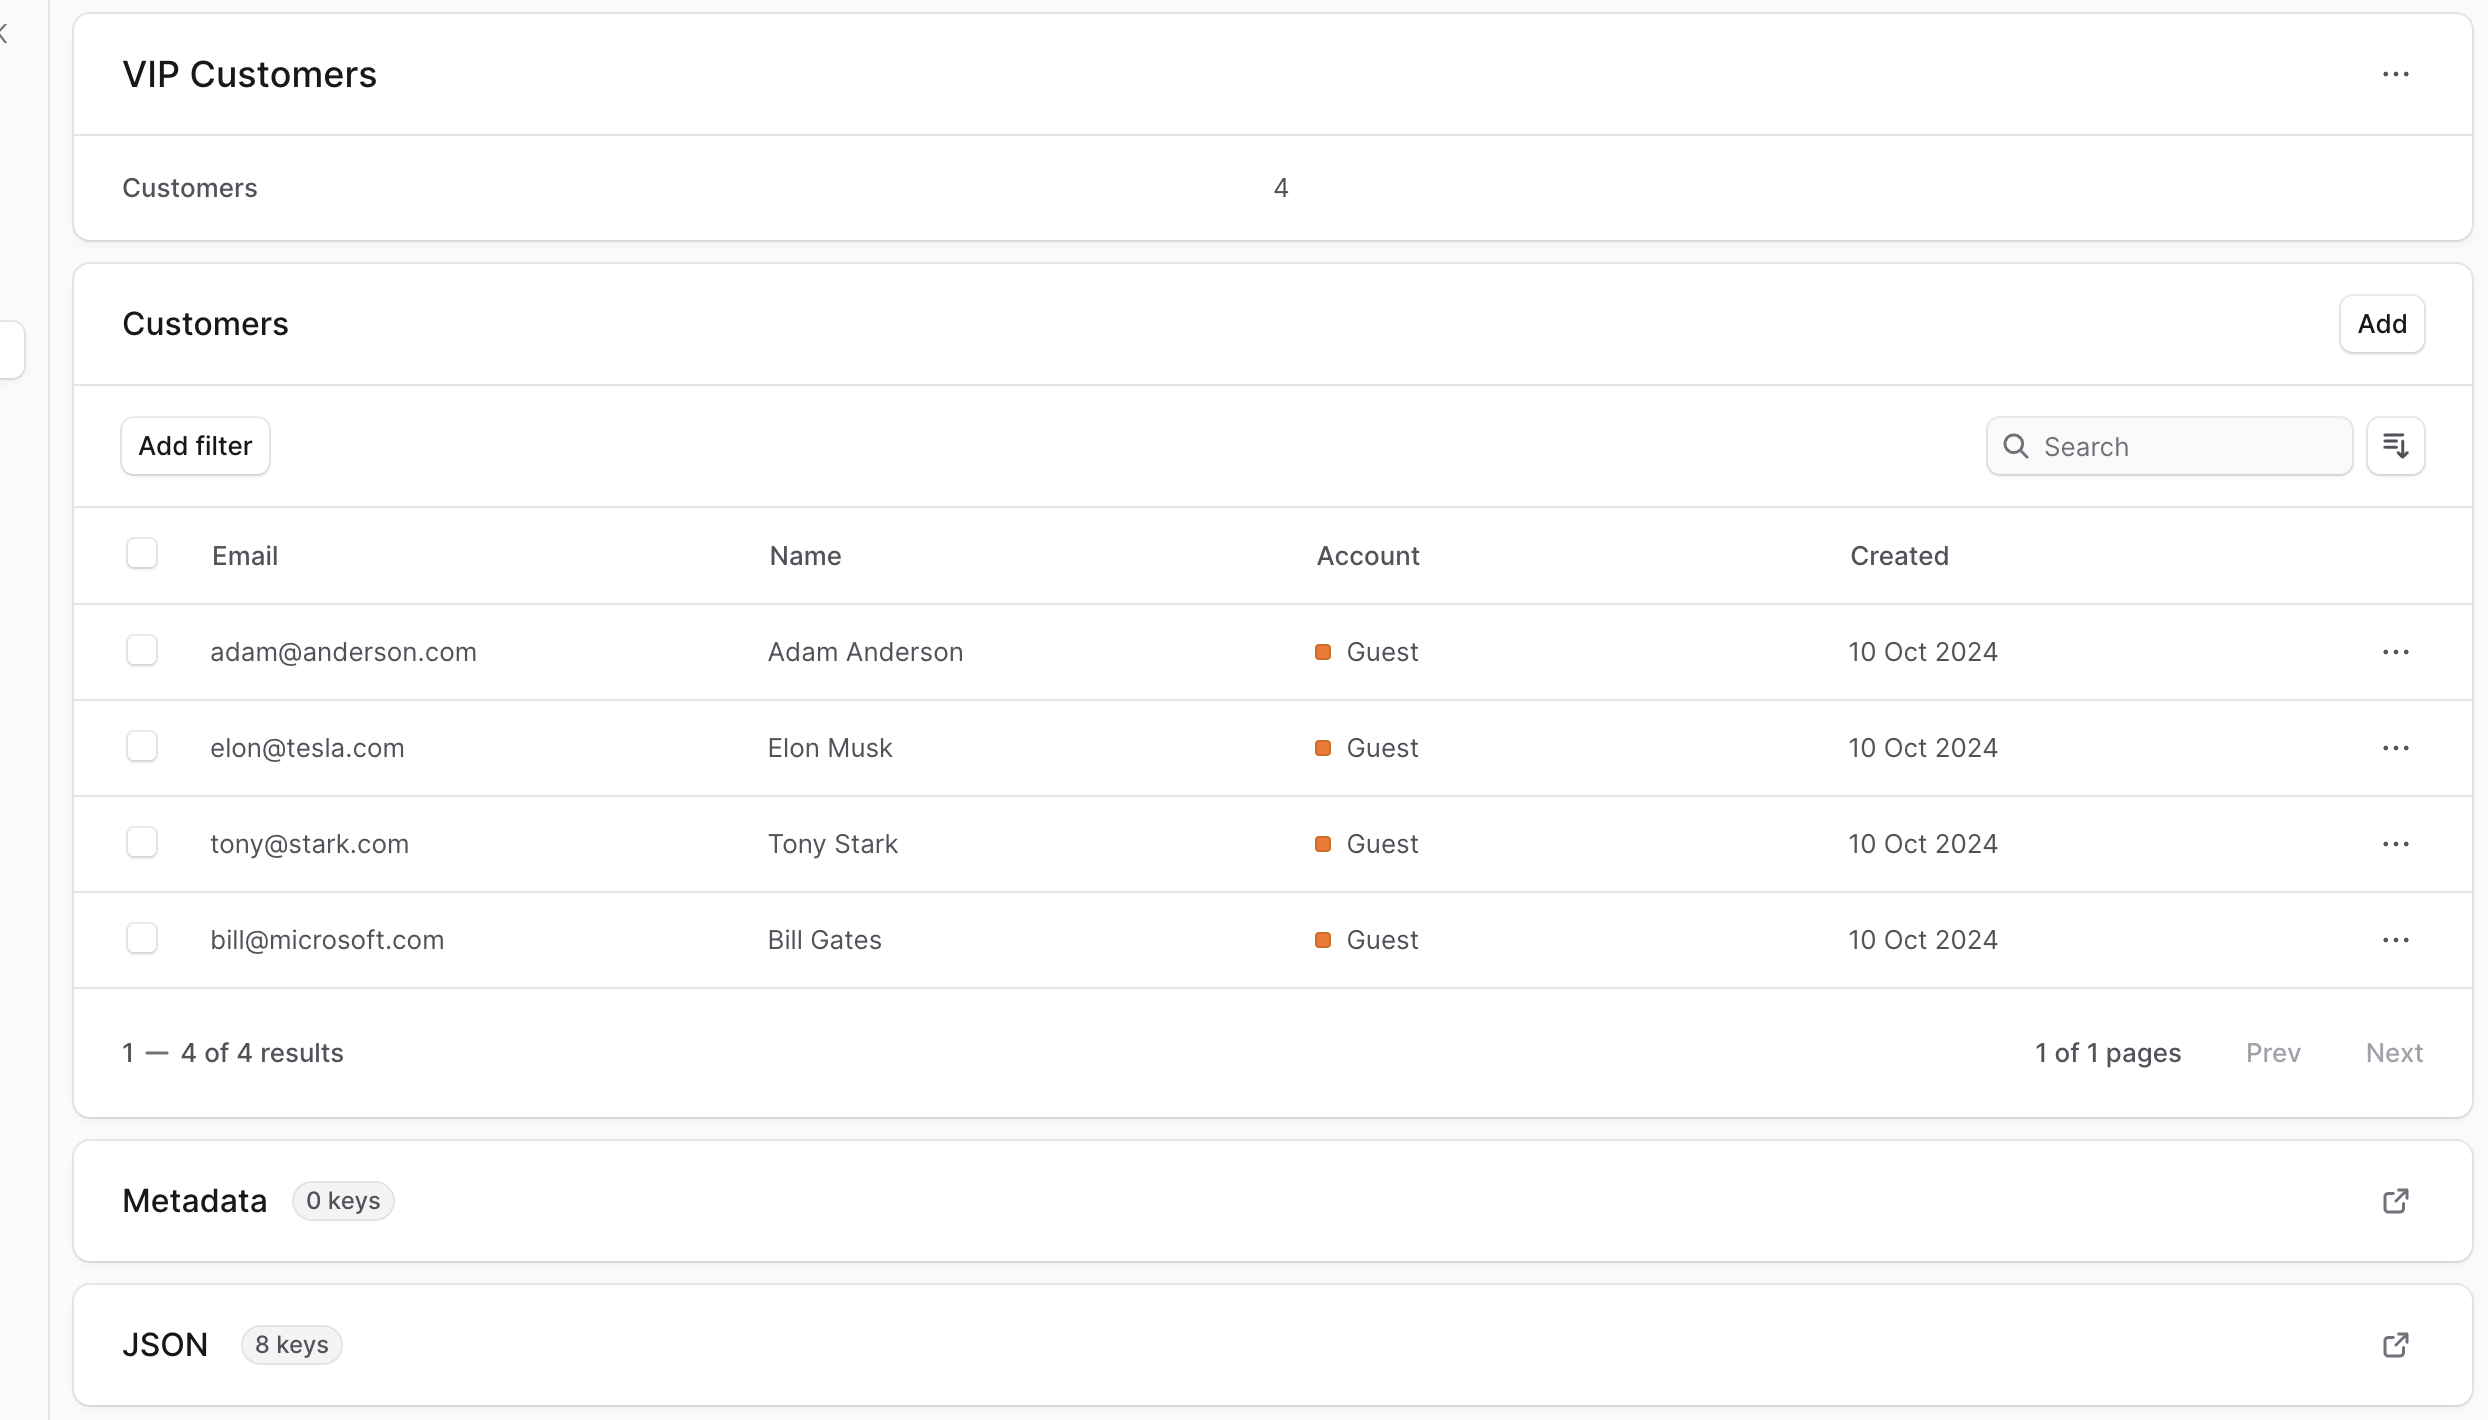
To view the details of a customer group:
- Go to Customers → Customer Groups.
- Click the group you want to view.
This opens the customer group's details page.
Edit a Customer Group
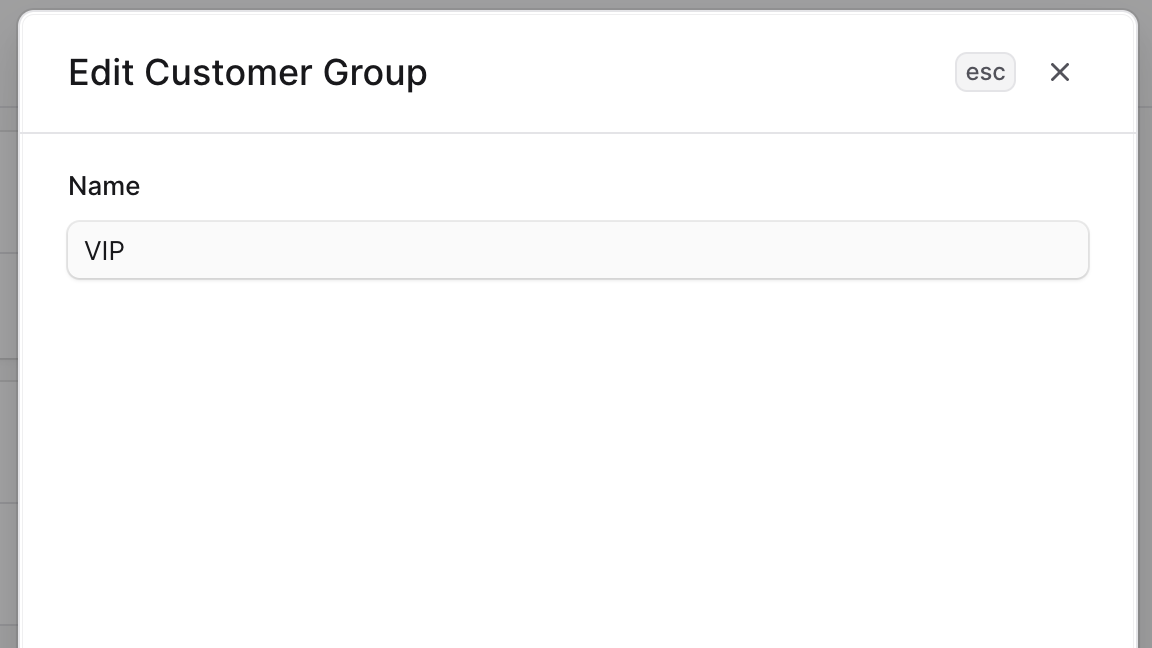
To edit a customer group:
- Go to the customer group's details page.
- Click the three-dot menu in the first section's header.
- Click Edit in the dropdown.
- In the side window that opens, you can edit the customer group's name.
- When you're done, click Save.
Manage Customers in a Group
A customer group can have multiple customers. You can add or remove customers from a customer group.
Add Customers to a Group
To add customers to a customer group:
- Go to the customer group's details page.
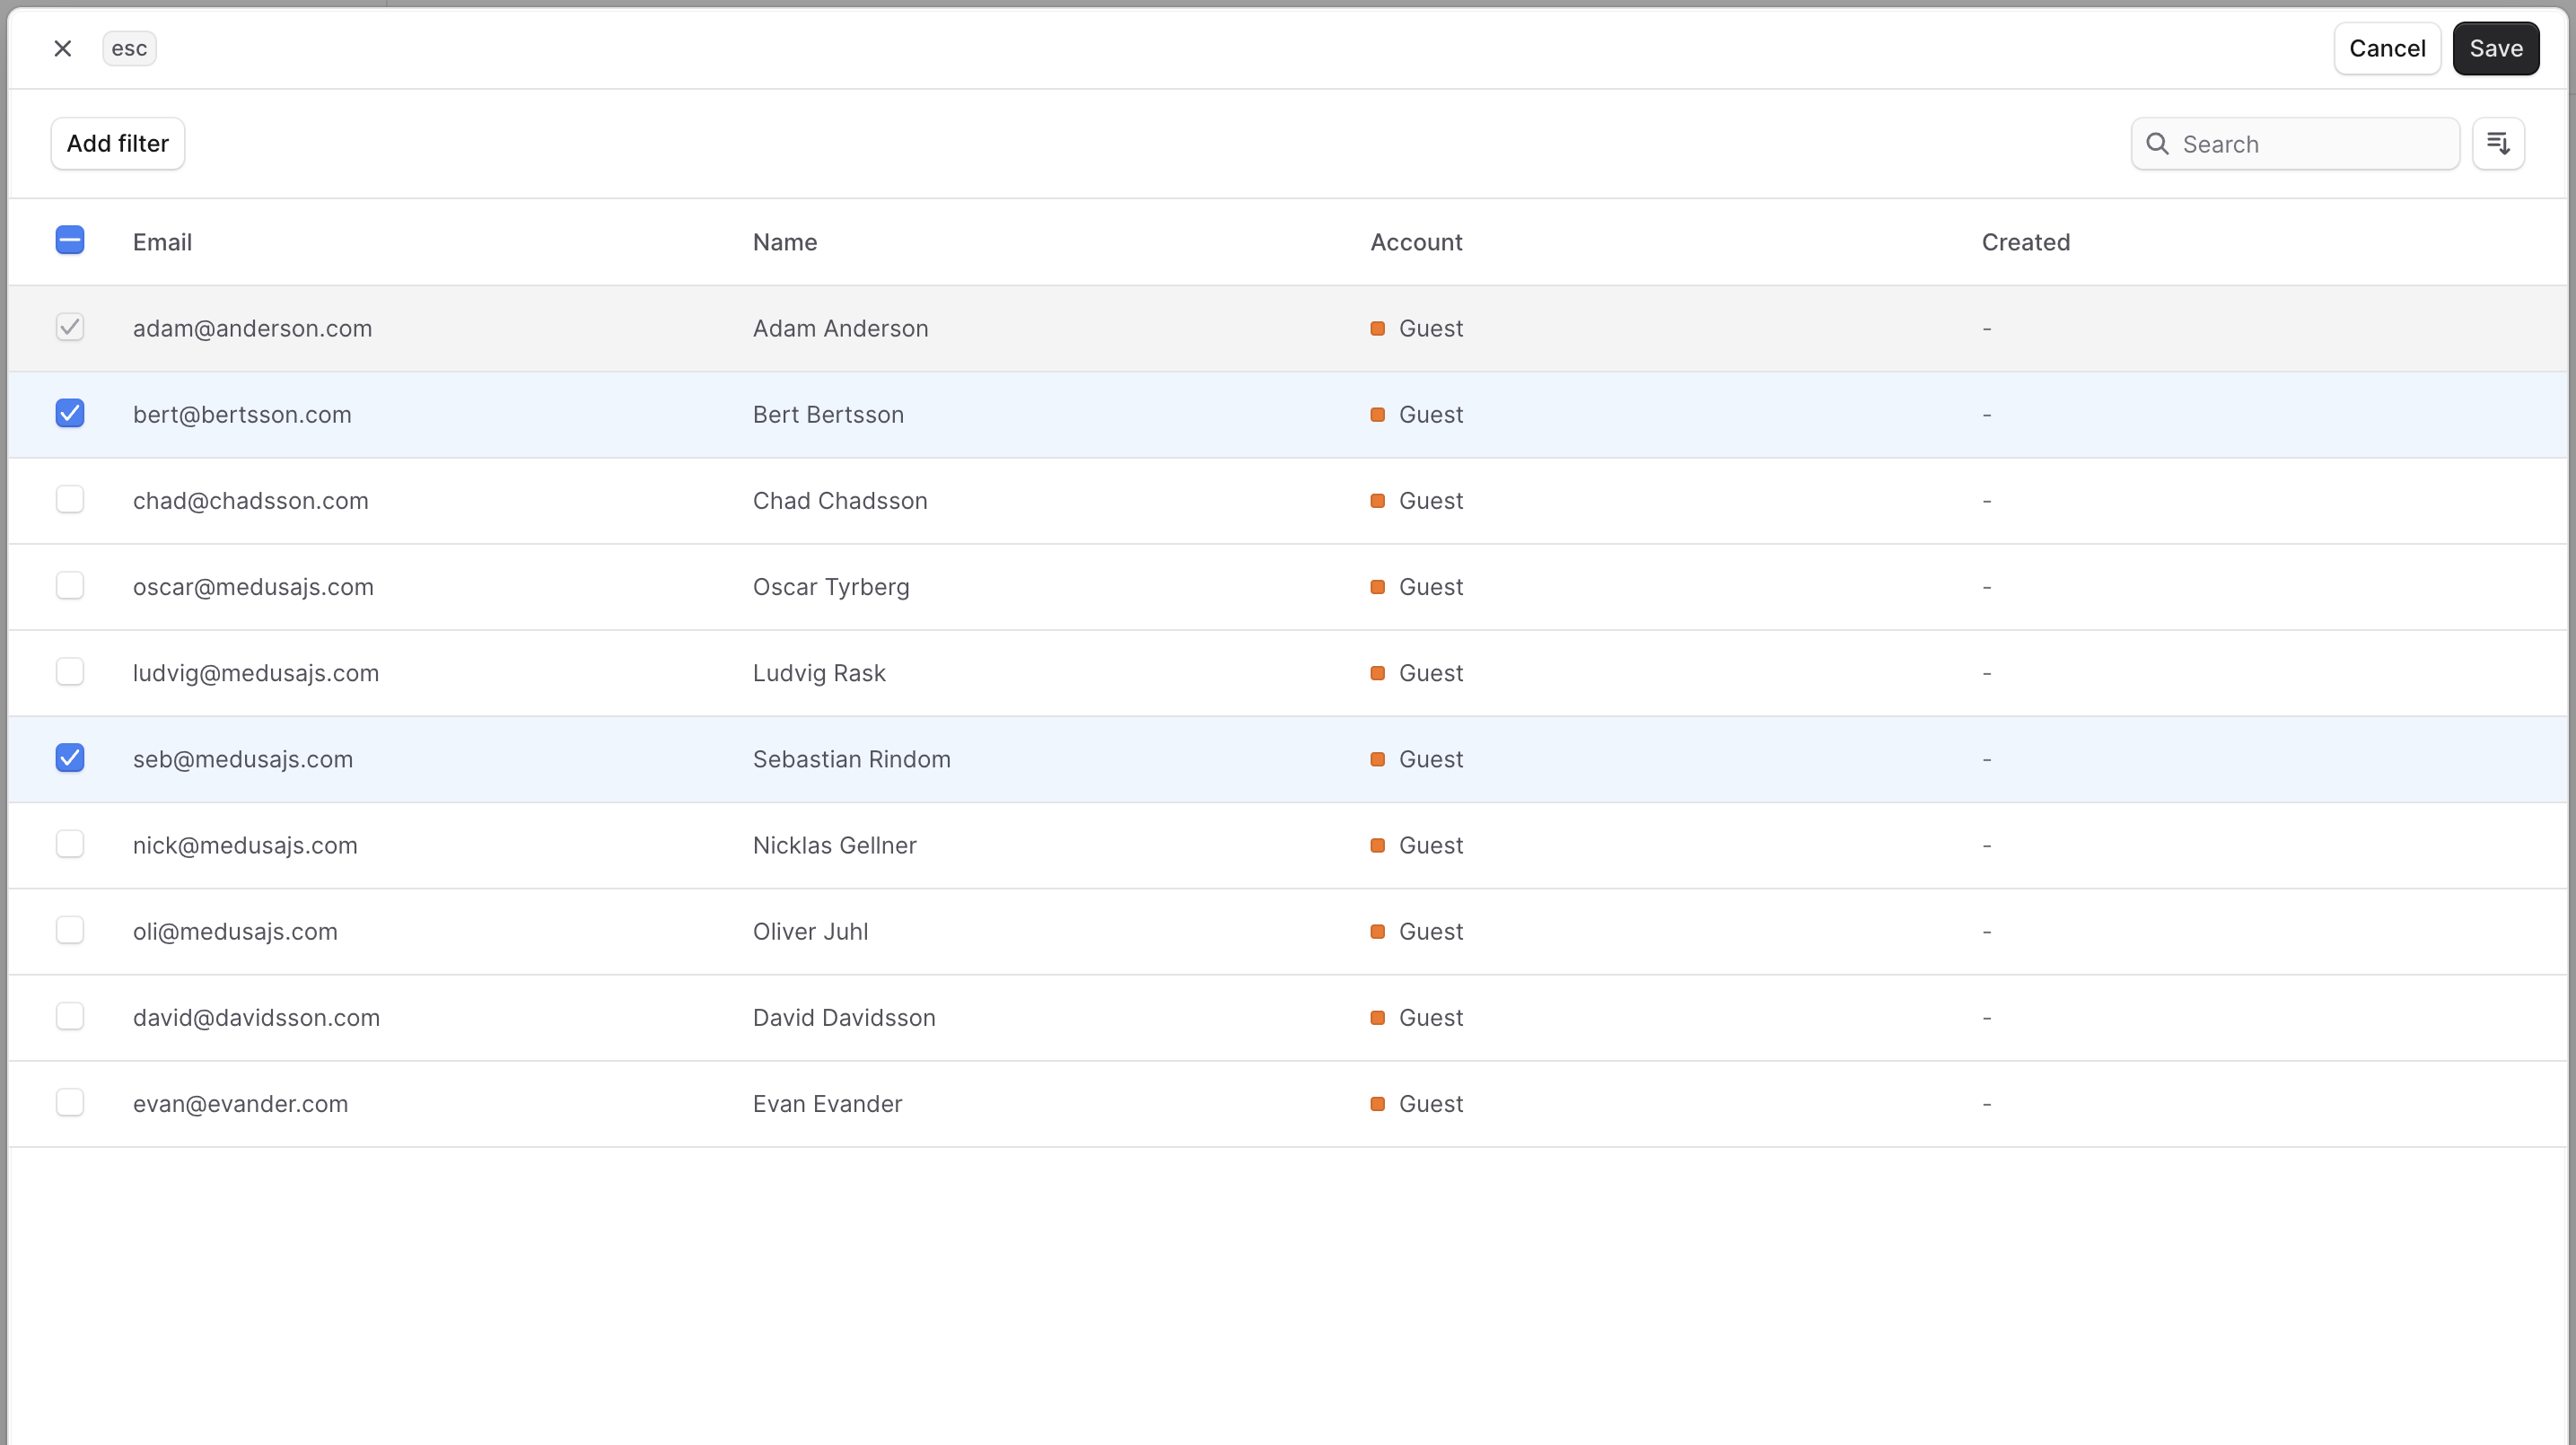
- In the Customers section, click Add in the section header.
- Check the customers you want to add to the group.
- When you're done, click Save.
Remove a Customer from a Group
To remove customers from a customer group:
- Go to the customer group's details page.
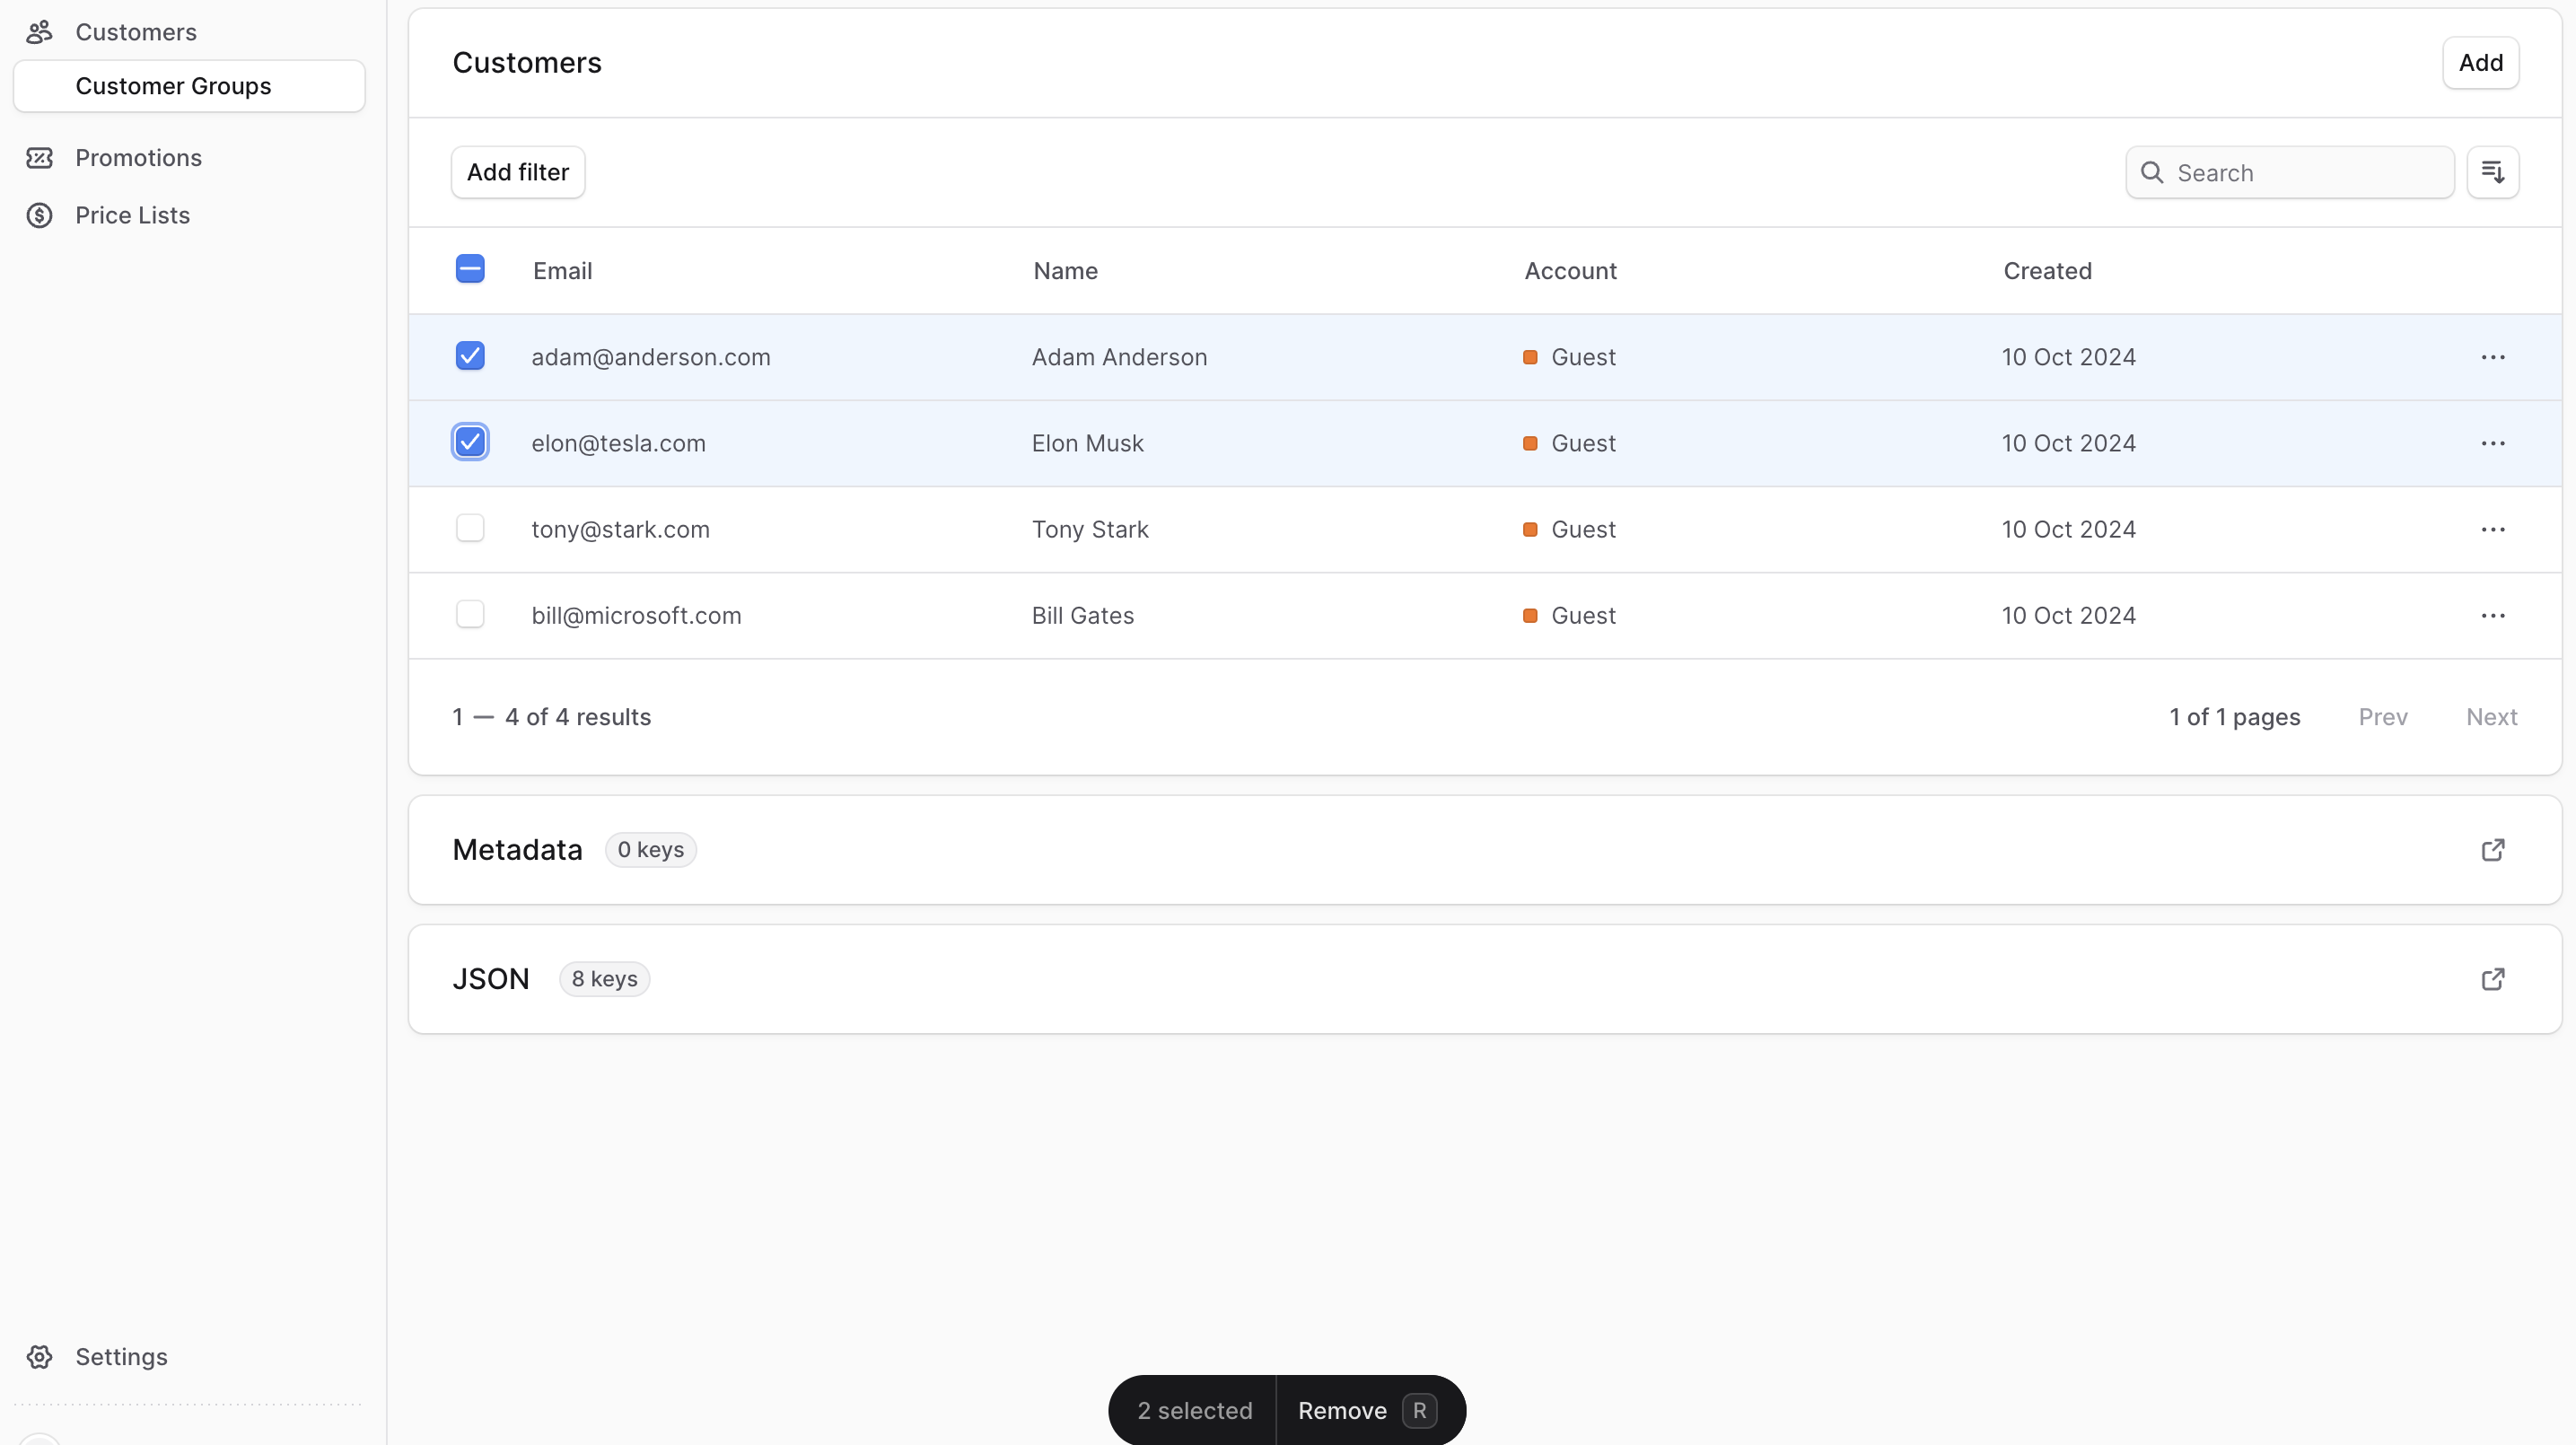
- In the Customers section, check the customers you want to remove from the group.
- When you're done, either press R or click Remove at the bottom center of the page.
- Confirm removing the customers by clicking Continue in the pop-up.
Edit Customer Group Metadata
Metadata is custom data that can be associated with the customer group in key-value pairs. This is usually used by developers for custom integrations or to store additional information about the customer group.
To edit the customer group's metadata:
- Go to the customer group's details page.
- Click the expand icon in the Metadata section.
- In the side window that opens:
- Manage the key-value pairs in the table.
- To add a new row of key-value pairs before or after a row:
- Hover over the row and click the three-dot menu at its end.
- Choose Insert row above or Insert row below from the dropdown.
- To delete a row of key-value pairs:
- Hover over the row and click the three-dot menu at its end.
- Choose Delete row from the dropdown.
- When you're done, click Save.
Delete Customer Group
Deleting a customer group is irreversible. It doesn't delete the customers in the group.
To delete a customer group:
- Go to the customer group's details page.
- Click the three-dot menu in the first section's header.
- Choose Delete from the dropdown.
- Confirm deleting the customer group by clicking Delete in the pop-up.