Manage Store
Learn how to edit your store's details and available currencies in the vendor dashboard.
On this page
In this guide, you'll learn how to edit your store's details and available currencies.
View Store Details
To view your store's details, go to Settings → Store. There, you can view and manage the store's details and its available currencies.
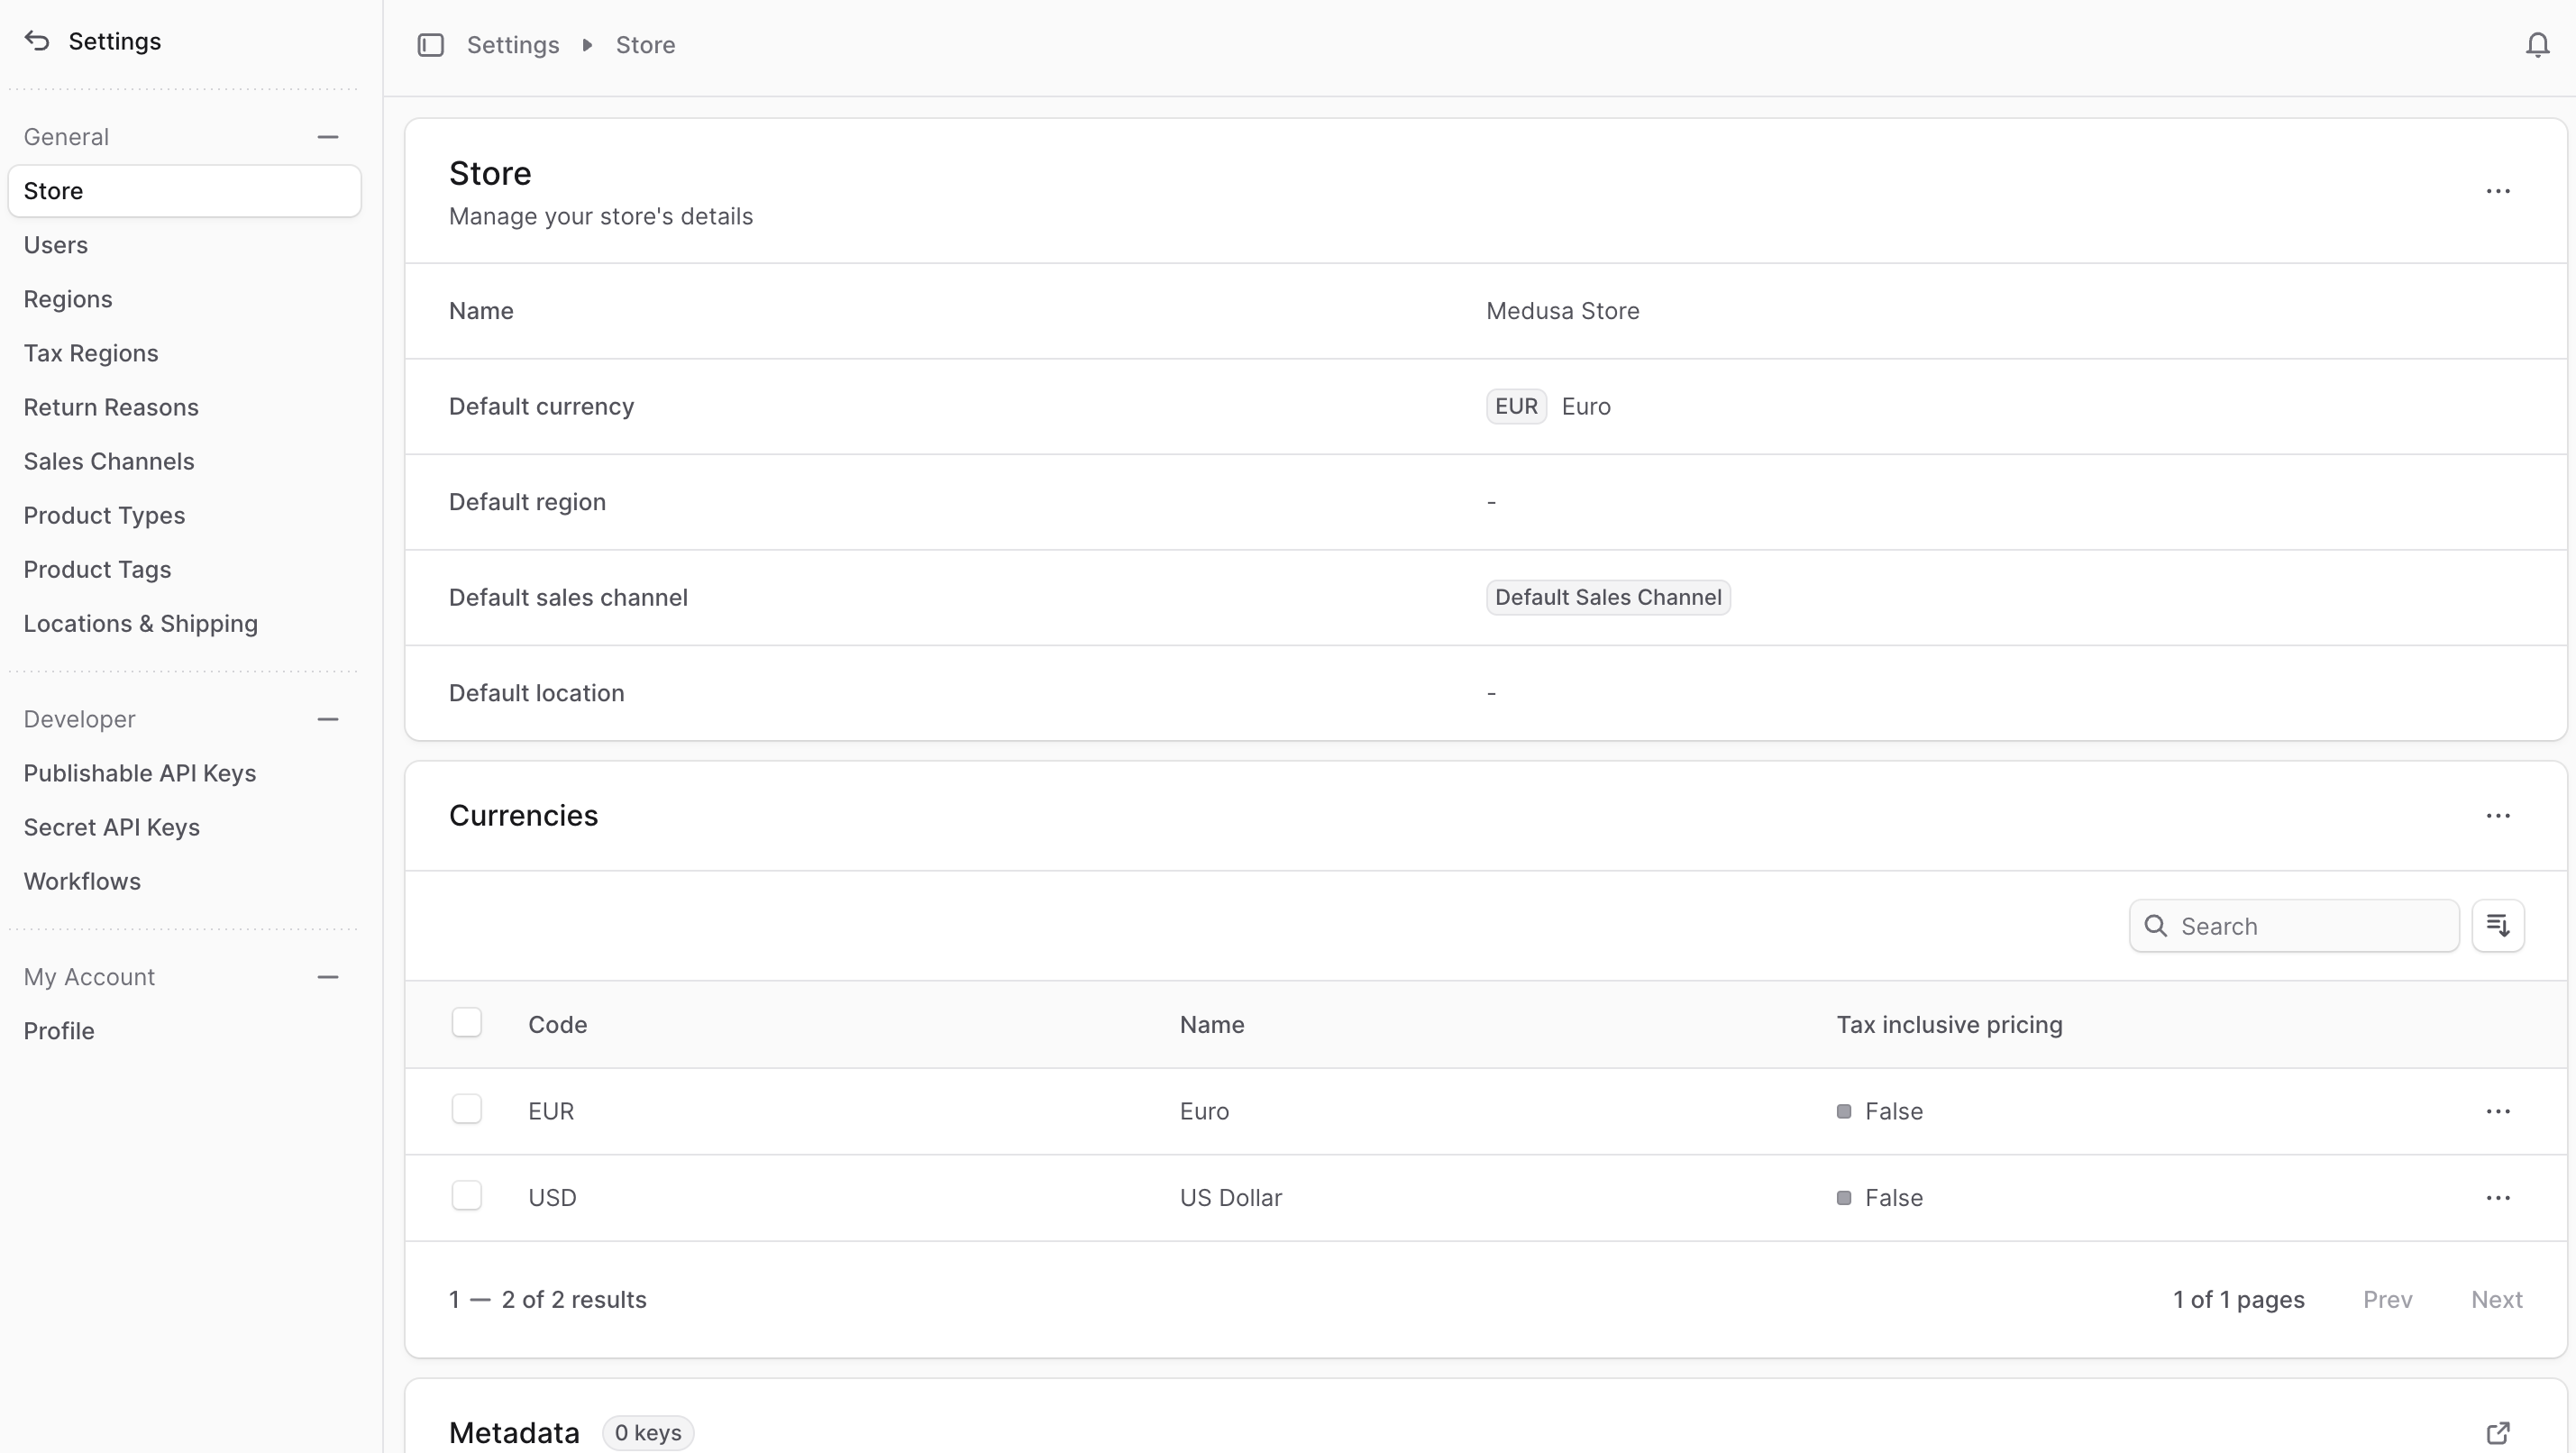
Edit Store Details
To edit your store's details:
- Go to Settings → Store.
- Click the three-dot menu in the Store section header.
- Choose Edit from the dropdown.
- In the side window that opens, edit the store's name, default currency, default region, default sales channel, and default location. These defaults are used in the storefront when no other values are provided.
- When you're done, click Save.
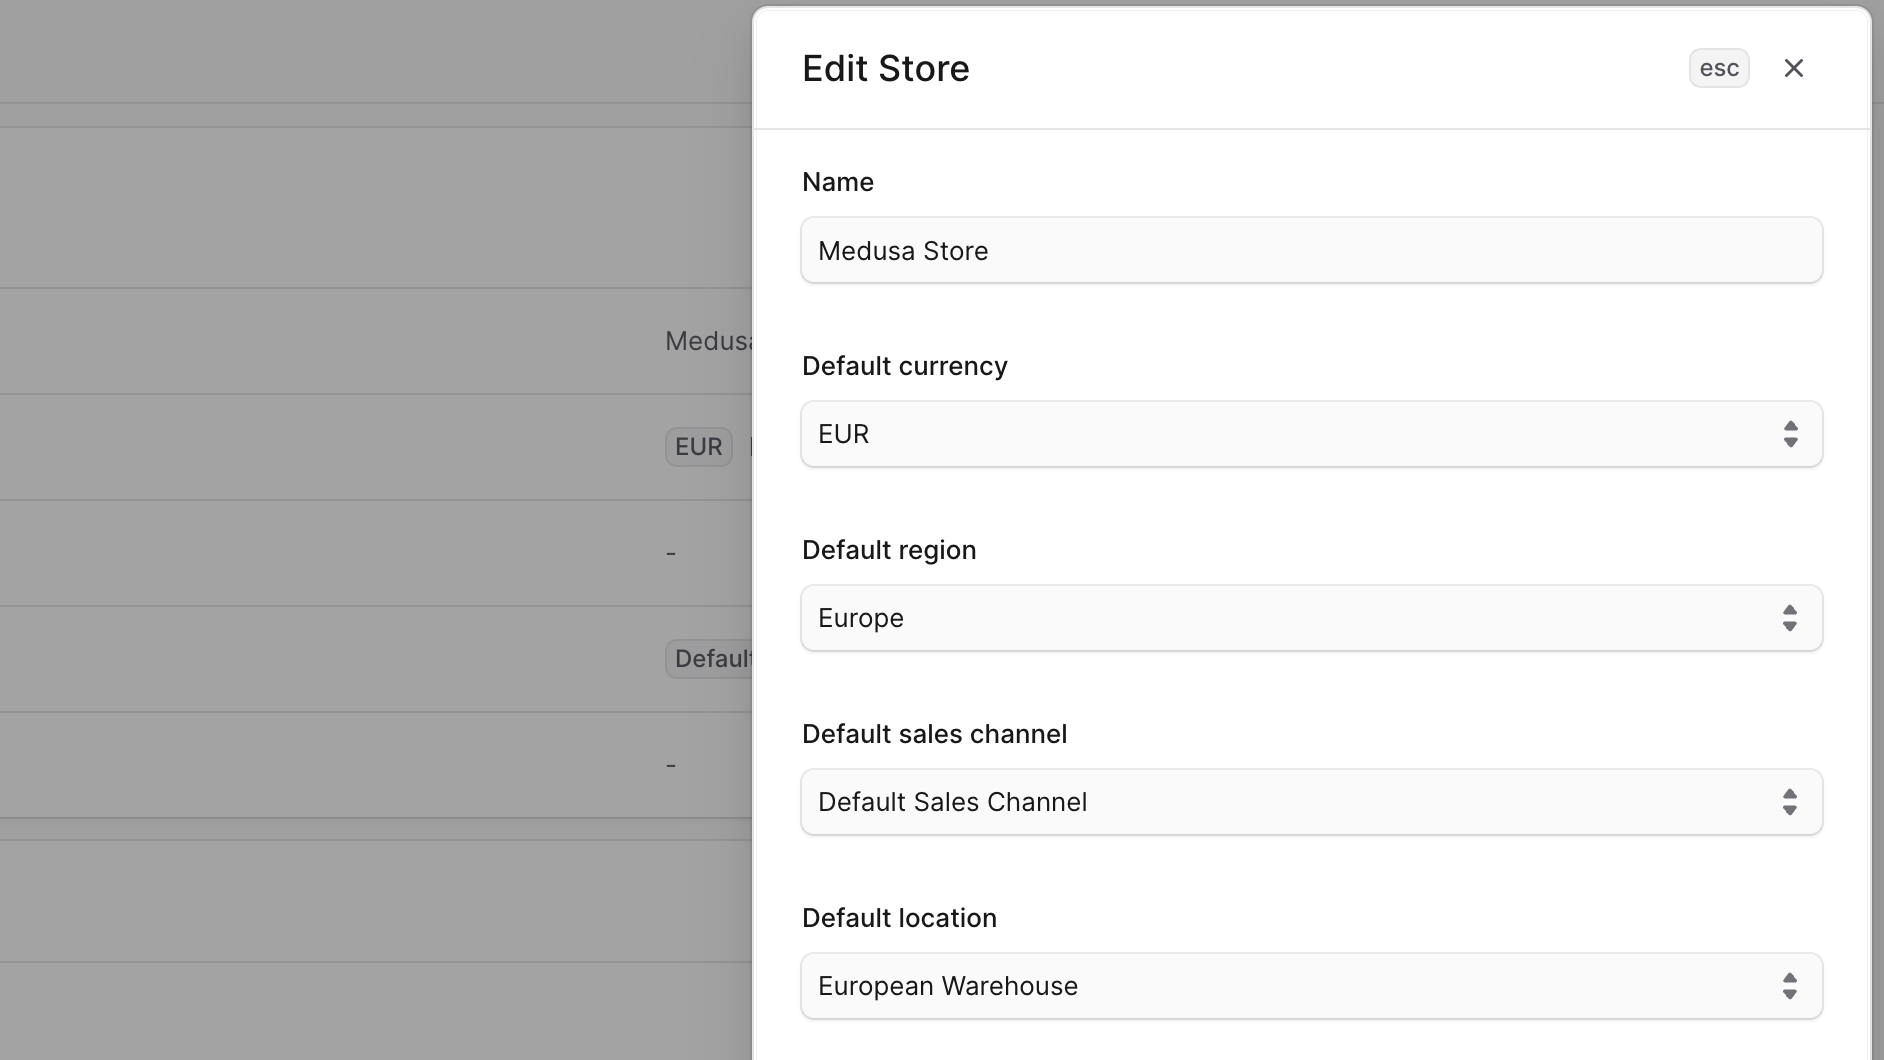
Manage Currencies
Your store can support multiple currencies, allowing customers to view prices in their preferred currency. You can add or remove currencies in the store settings.
Add Currencies
To add currencies to your store:
- Go to Settings → Store.
- Click the three-dot menu in the Currencies section header.
- Choose Add from the dropdown.
- In the list that opens, check the currencies you want to add to the store.
- To enable tax-inclusive pricing for a currency, enable the toggle next to the currency.
- When you're done, click Save.
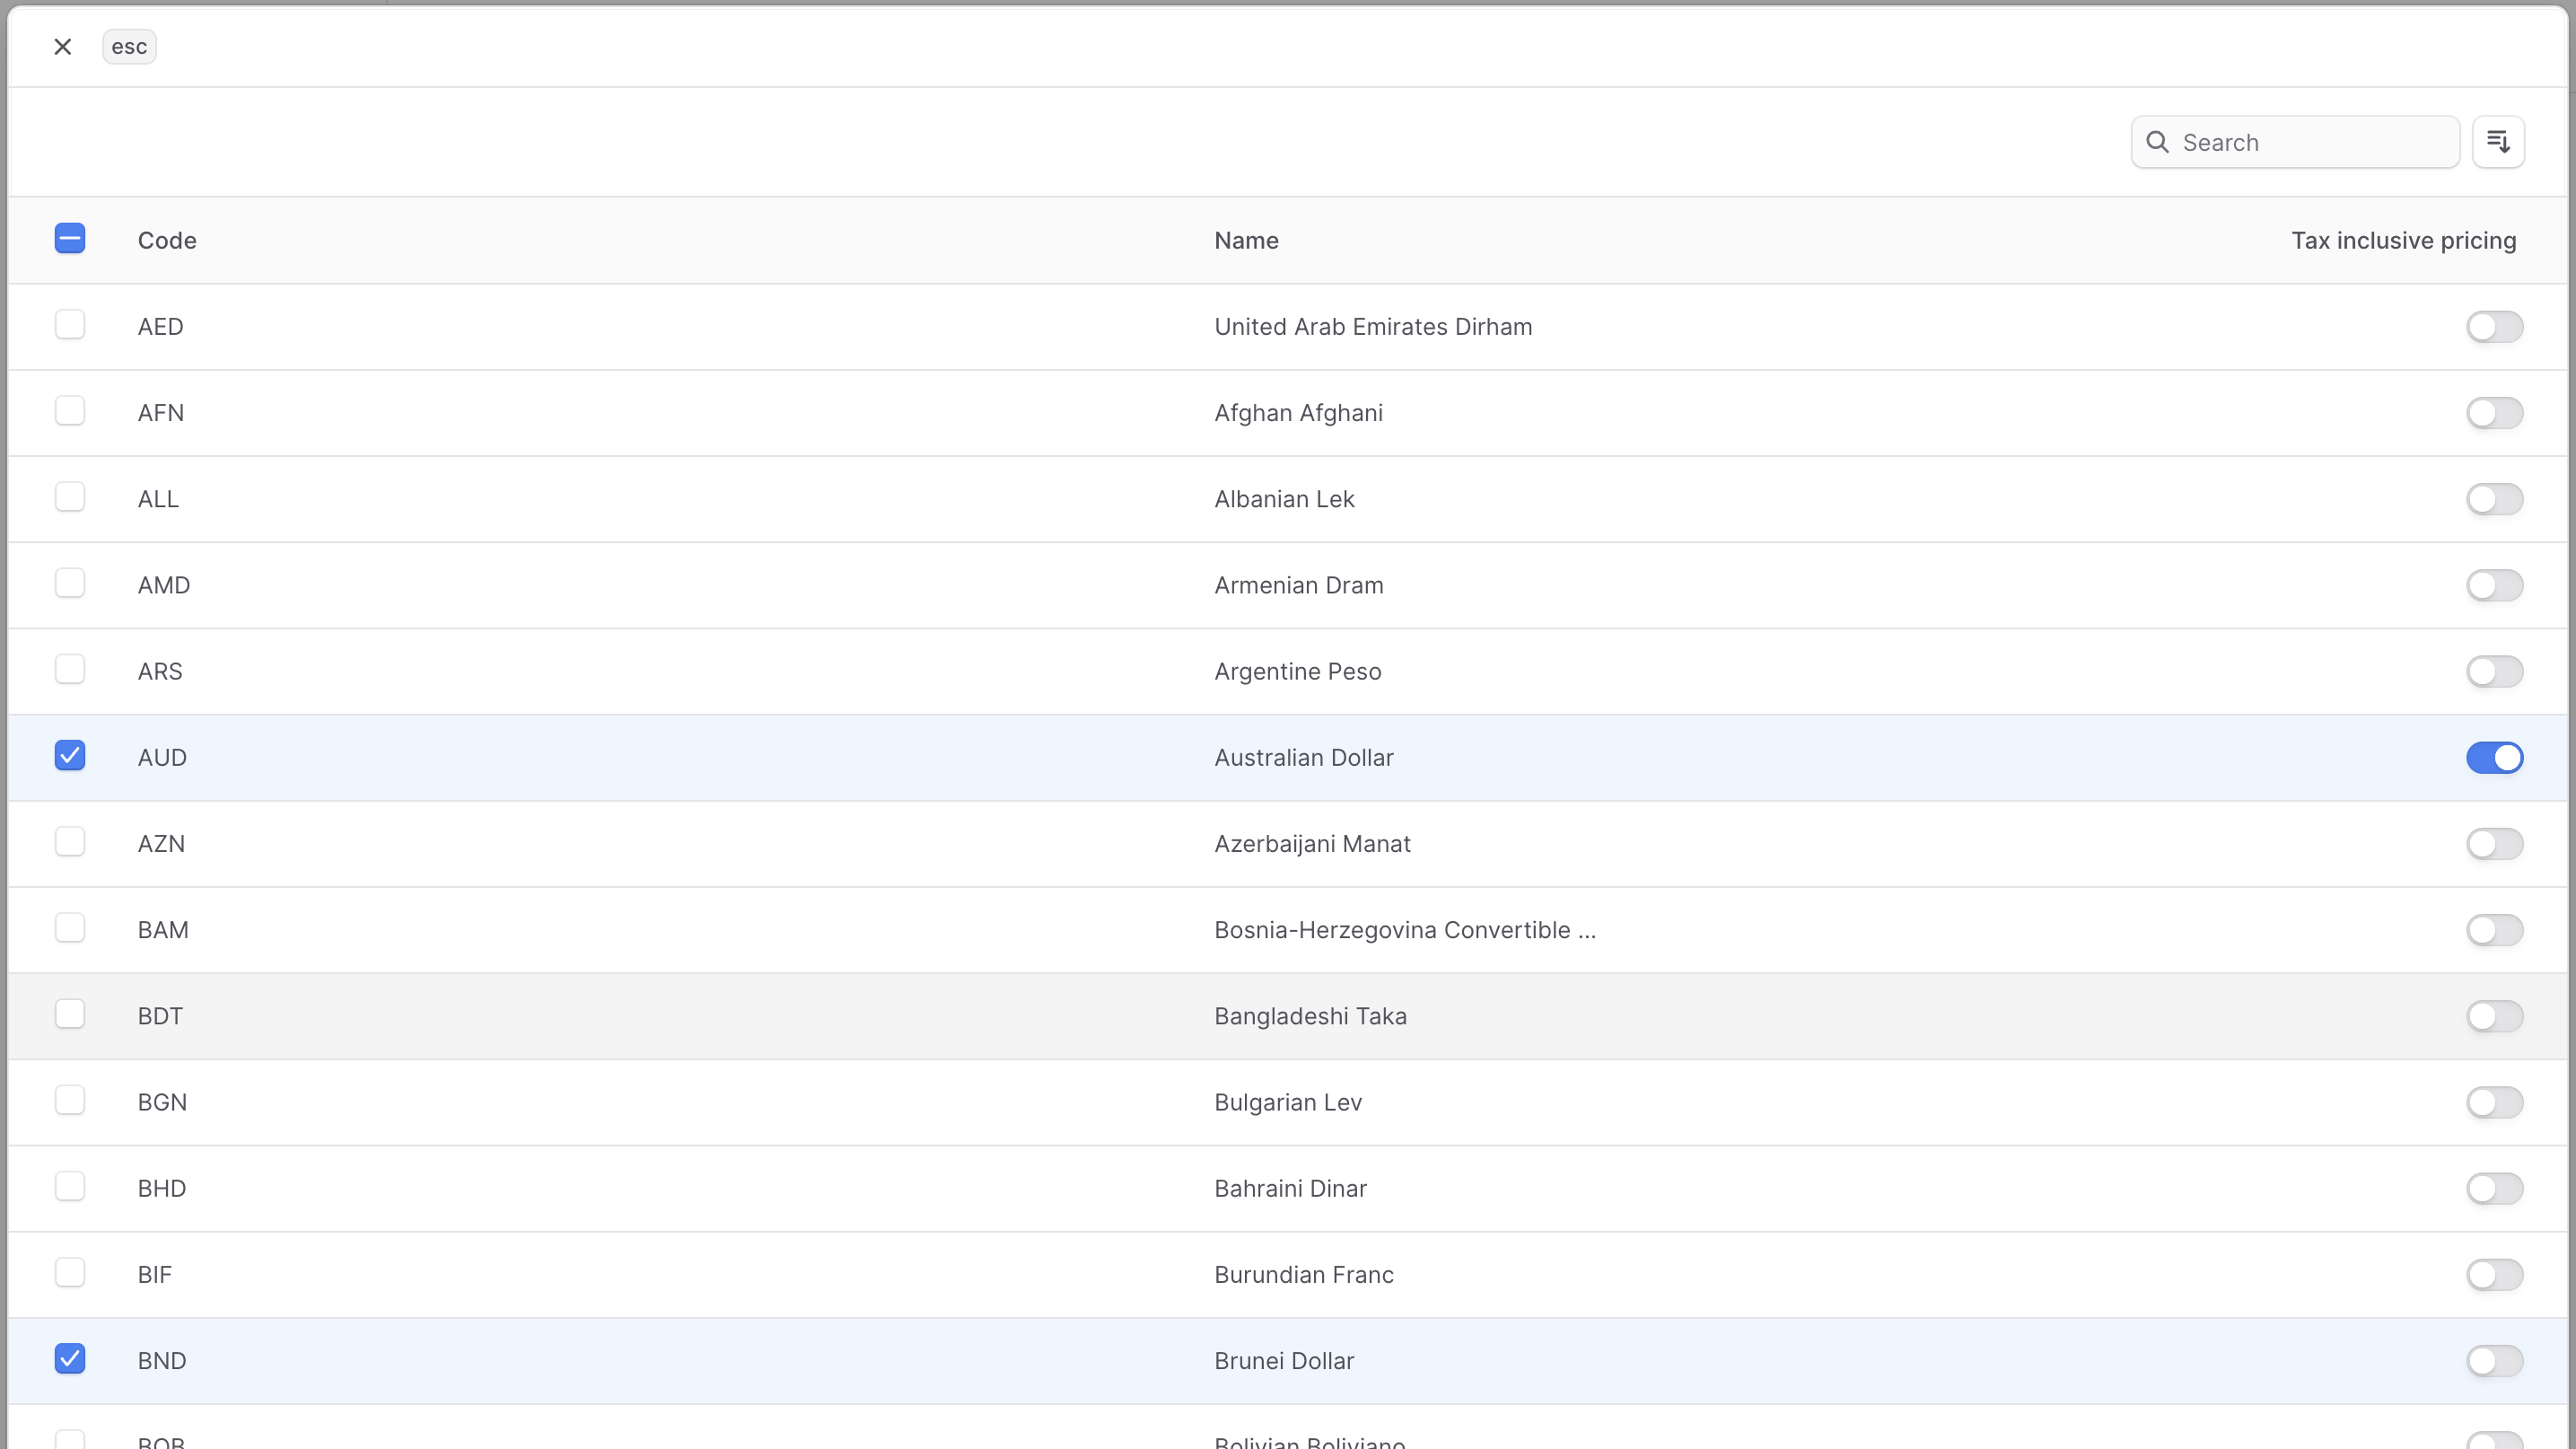
Edit Tax-Inclusive Setting for Currency
In the store settings, you can also manage a currency's tax-inclusive price setting. During checkout, after tax is calculated for a product or shipping, the store will either:
- Add the tax to the product's price (tax-exclusive pricing).
- Include the tax in the product's price (tax-inclusive pricing).
You can manage whether a currency uses tax-inclusive pricing when adding or editing it. To edit the tax-inclusive setting for a currency:
- Go to Settings → Store.
- Click the three-dot menu next to the currency you want to edit.
- Choose Enable tax-inclusive pricing or Disable tax-inclusive pricing from the dropdown, depending on the current setting.
Remove Currencies
You can remove any currency from your store that isn't the default currency. You can add the currency again later if needed.
To remove a currency:
- Go to Settings → Store.
- Under the Currencies section, check the currencies you want to remove.
- Press R or click Remove at the bottom center of the page.
- Confirm by clicking Remove in the pop-up.
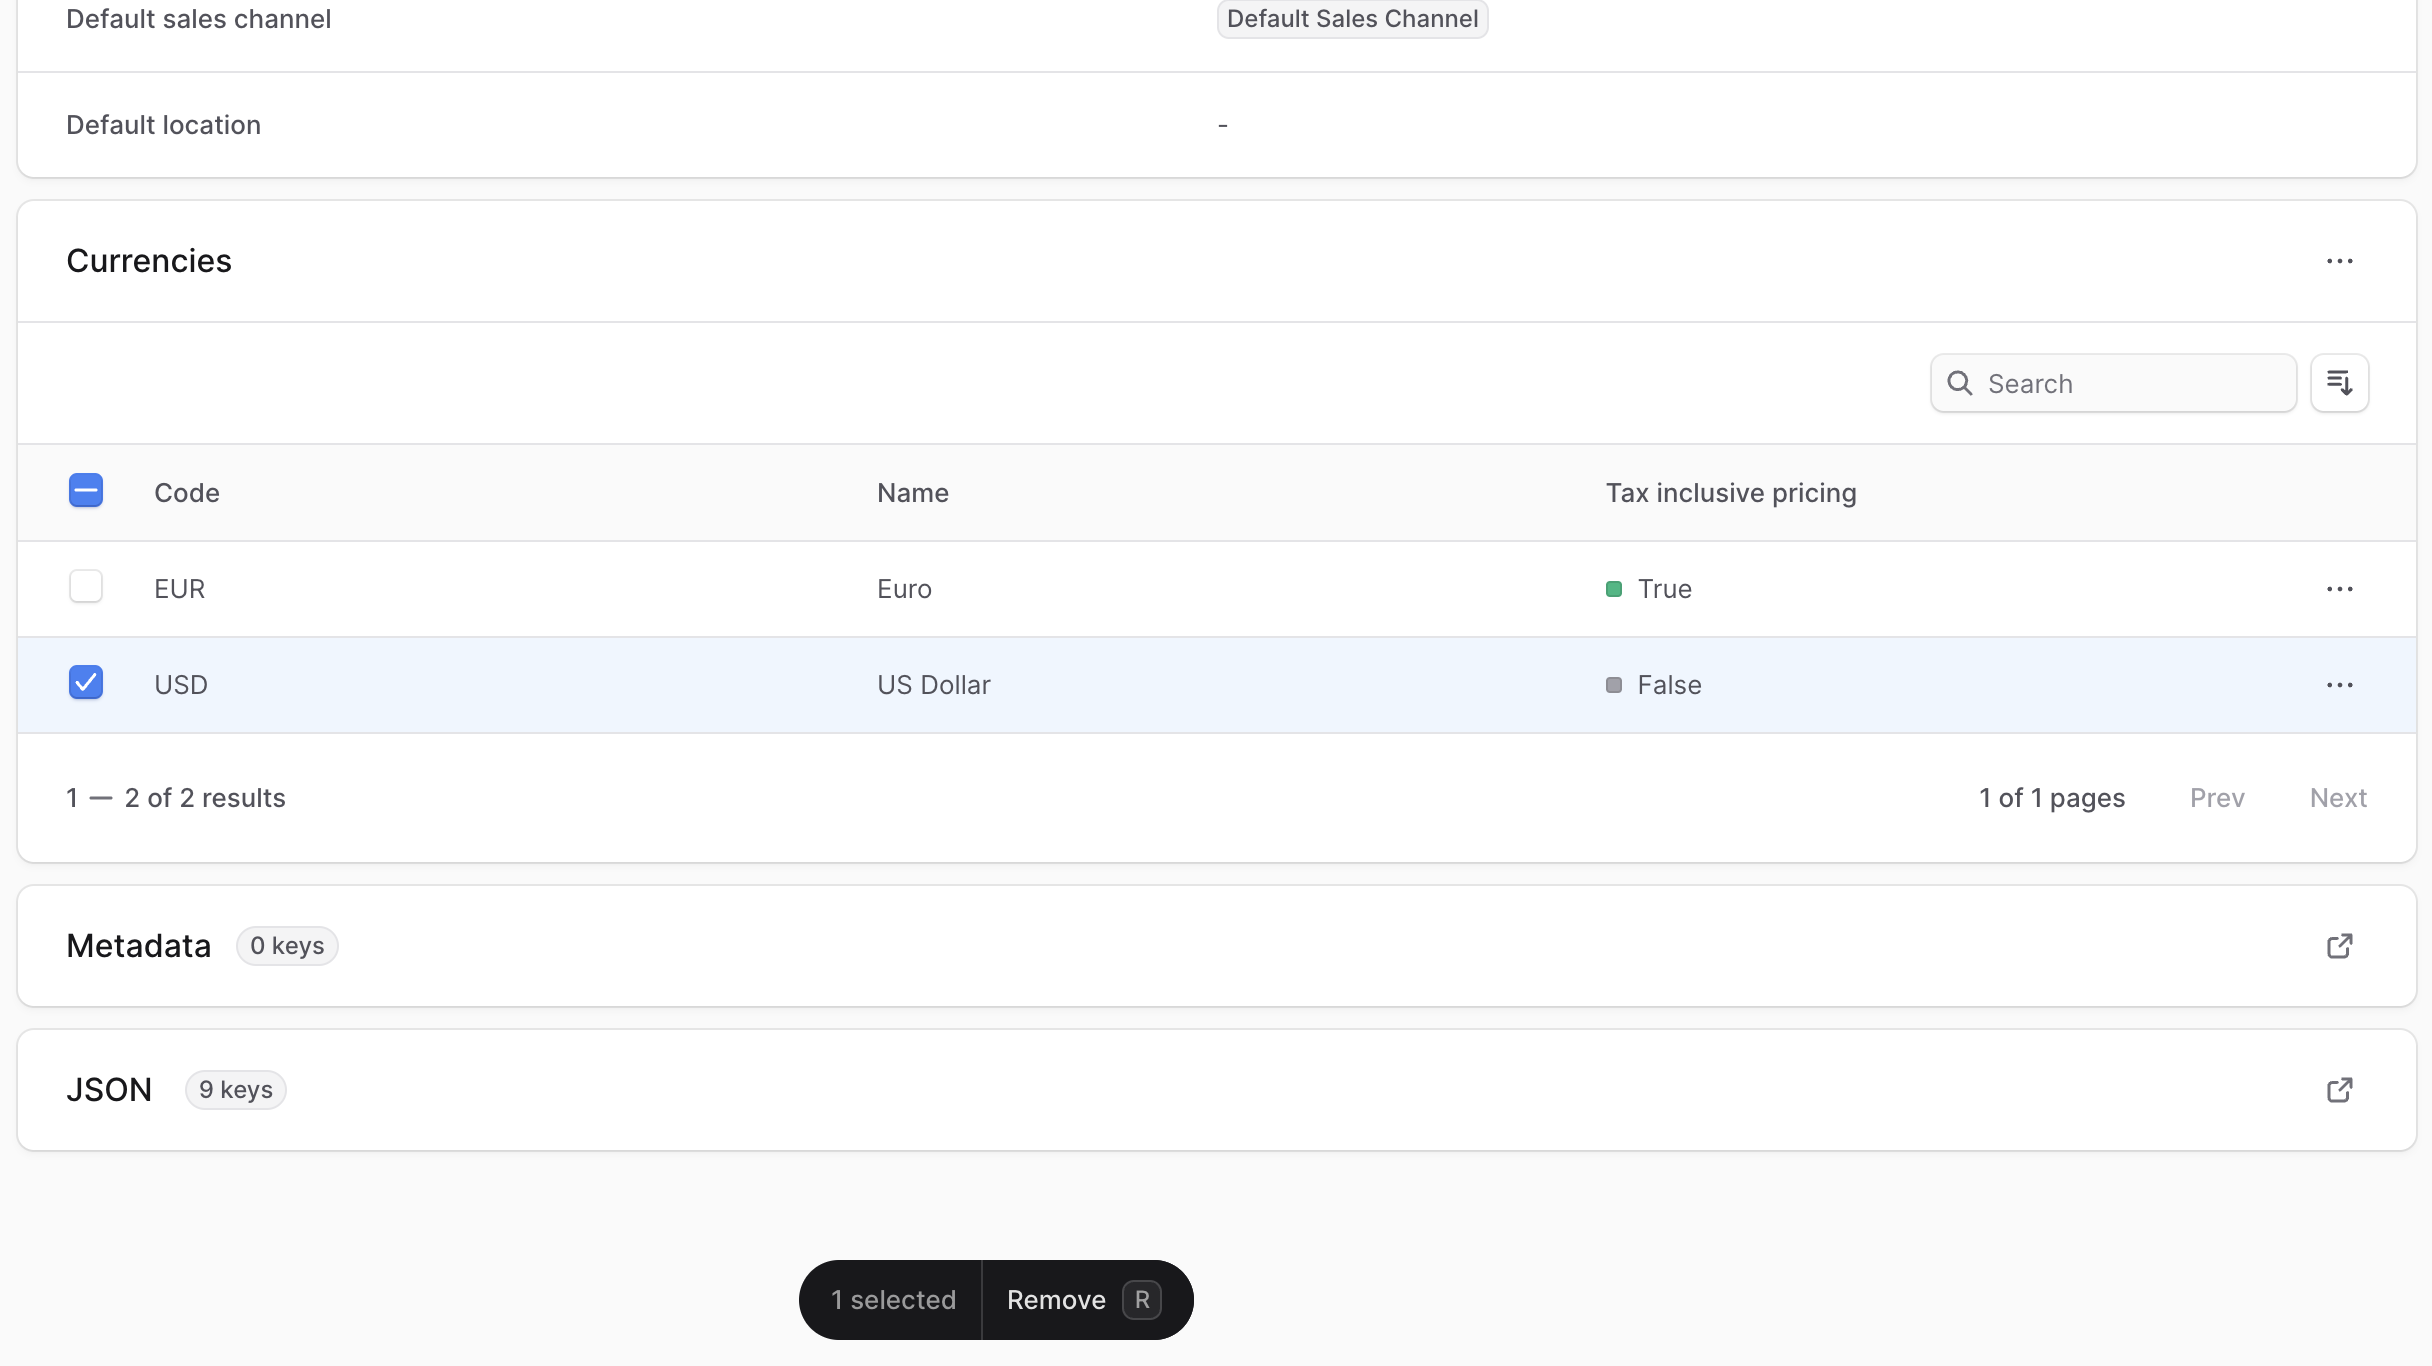
Manage Store Locales
Locales define the languages that your store supports for displaying content to customers. You can manage the store's available locales in the store settings. Then, you can translate content like product titles and descriptions into these locales from the Translations settings.
Add Locales to Store
To add supported locales to your store:
- Go to Settings → Store.
- Click the three-dot menu in the Locales section header.
- Choose Add from the dropdown.
- In the list that opens, check the locales you want to add to the store.
- When you're done, click Save.
You can now add translations for resources in the added locales from the Translations settings.
Remove Locales from Store
To remove a locale from your store:
- Go to Settings → Store.
- Under the Locales section, check the locales you want to remove.
- Press R or click Remove at the bottom center of the page.
- Confirm by clicking Remove in the pop-up.
Manage Store Metadata
Metadata is custom data that can be associated with the store in key-value pairs. This is usually used by developers for custom integrations or to store additional information about the store.
To edit the store's metadata:
- Click the arrow icon in the Metadata section.
- In the side window that opens:
- Manage the key-value pairs in the table.
- To add a new row of key-value pairs before or after a row:
- Hover over the row and click the three-dot menu at its end.
- Choose Insert row above or Insert row below from the dropdown.
- To delete a row of key-value pairs:
- Hover over the row and click the three-dot menu at its end.
- Choose Delete row from the dropdown.
- When you're done, click Save.