Manage Regions
Learn what regions are and how to manage them in the vendor dashboard.
On this page
In this guide, you'll learn what regions are and how to manage them.
What is a Region?
A region represents different countries or areas that your store serves customers in. A region can have multiple countries with the same settings, or it can be specific to a single country with its own settings.
Each region has its own settings, such as currency, payment providers, and fulfillment providers. You can set up regions to manage different aspects of your store based on the location of your customers.
Tax-Inclusive Pricing for Regions
A region has a tax-inclusive pricing setting that determines how taxes are added to prices for the region. During checkout, after tax is calculated for a product or shipping, the store will either:
- Add the tax to the product's price (tax-exclusive pricing).
- Include the tax in the product's price (tax-inclusive pricing).
You can manage this setting during region creation or update.
View Regions
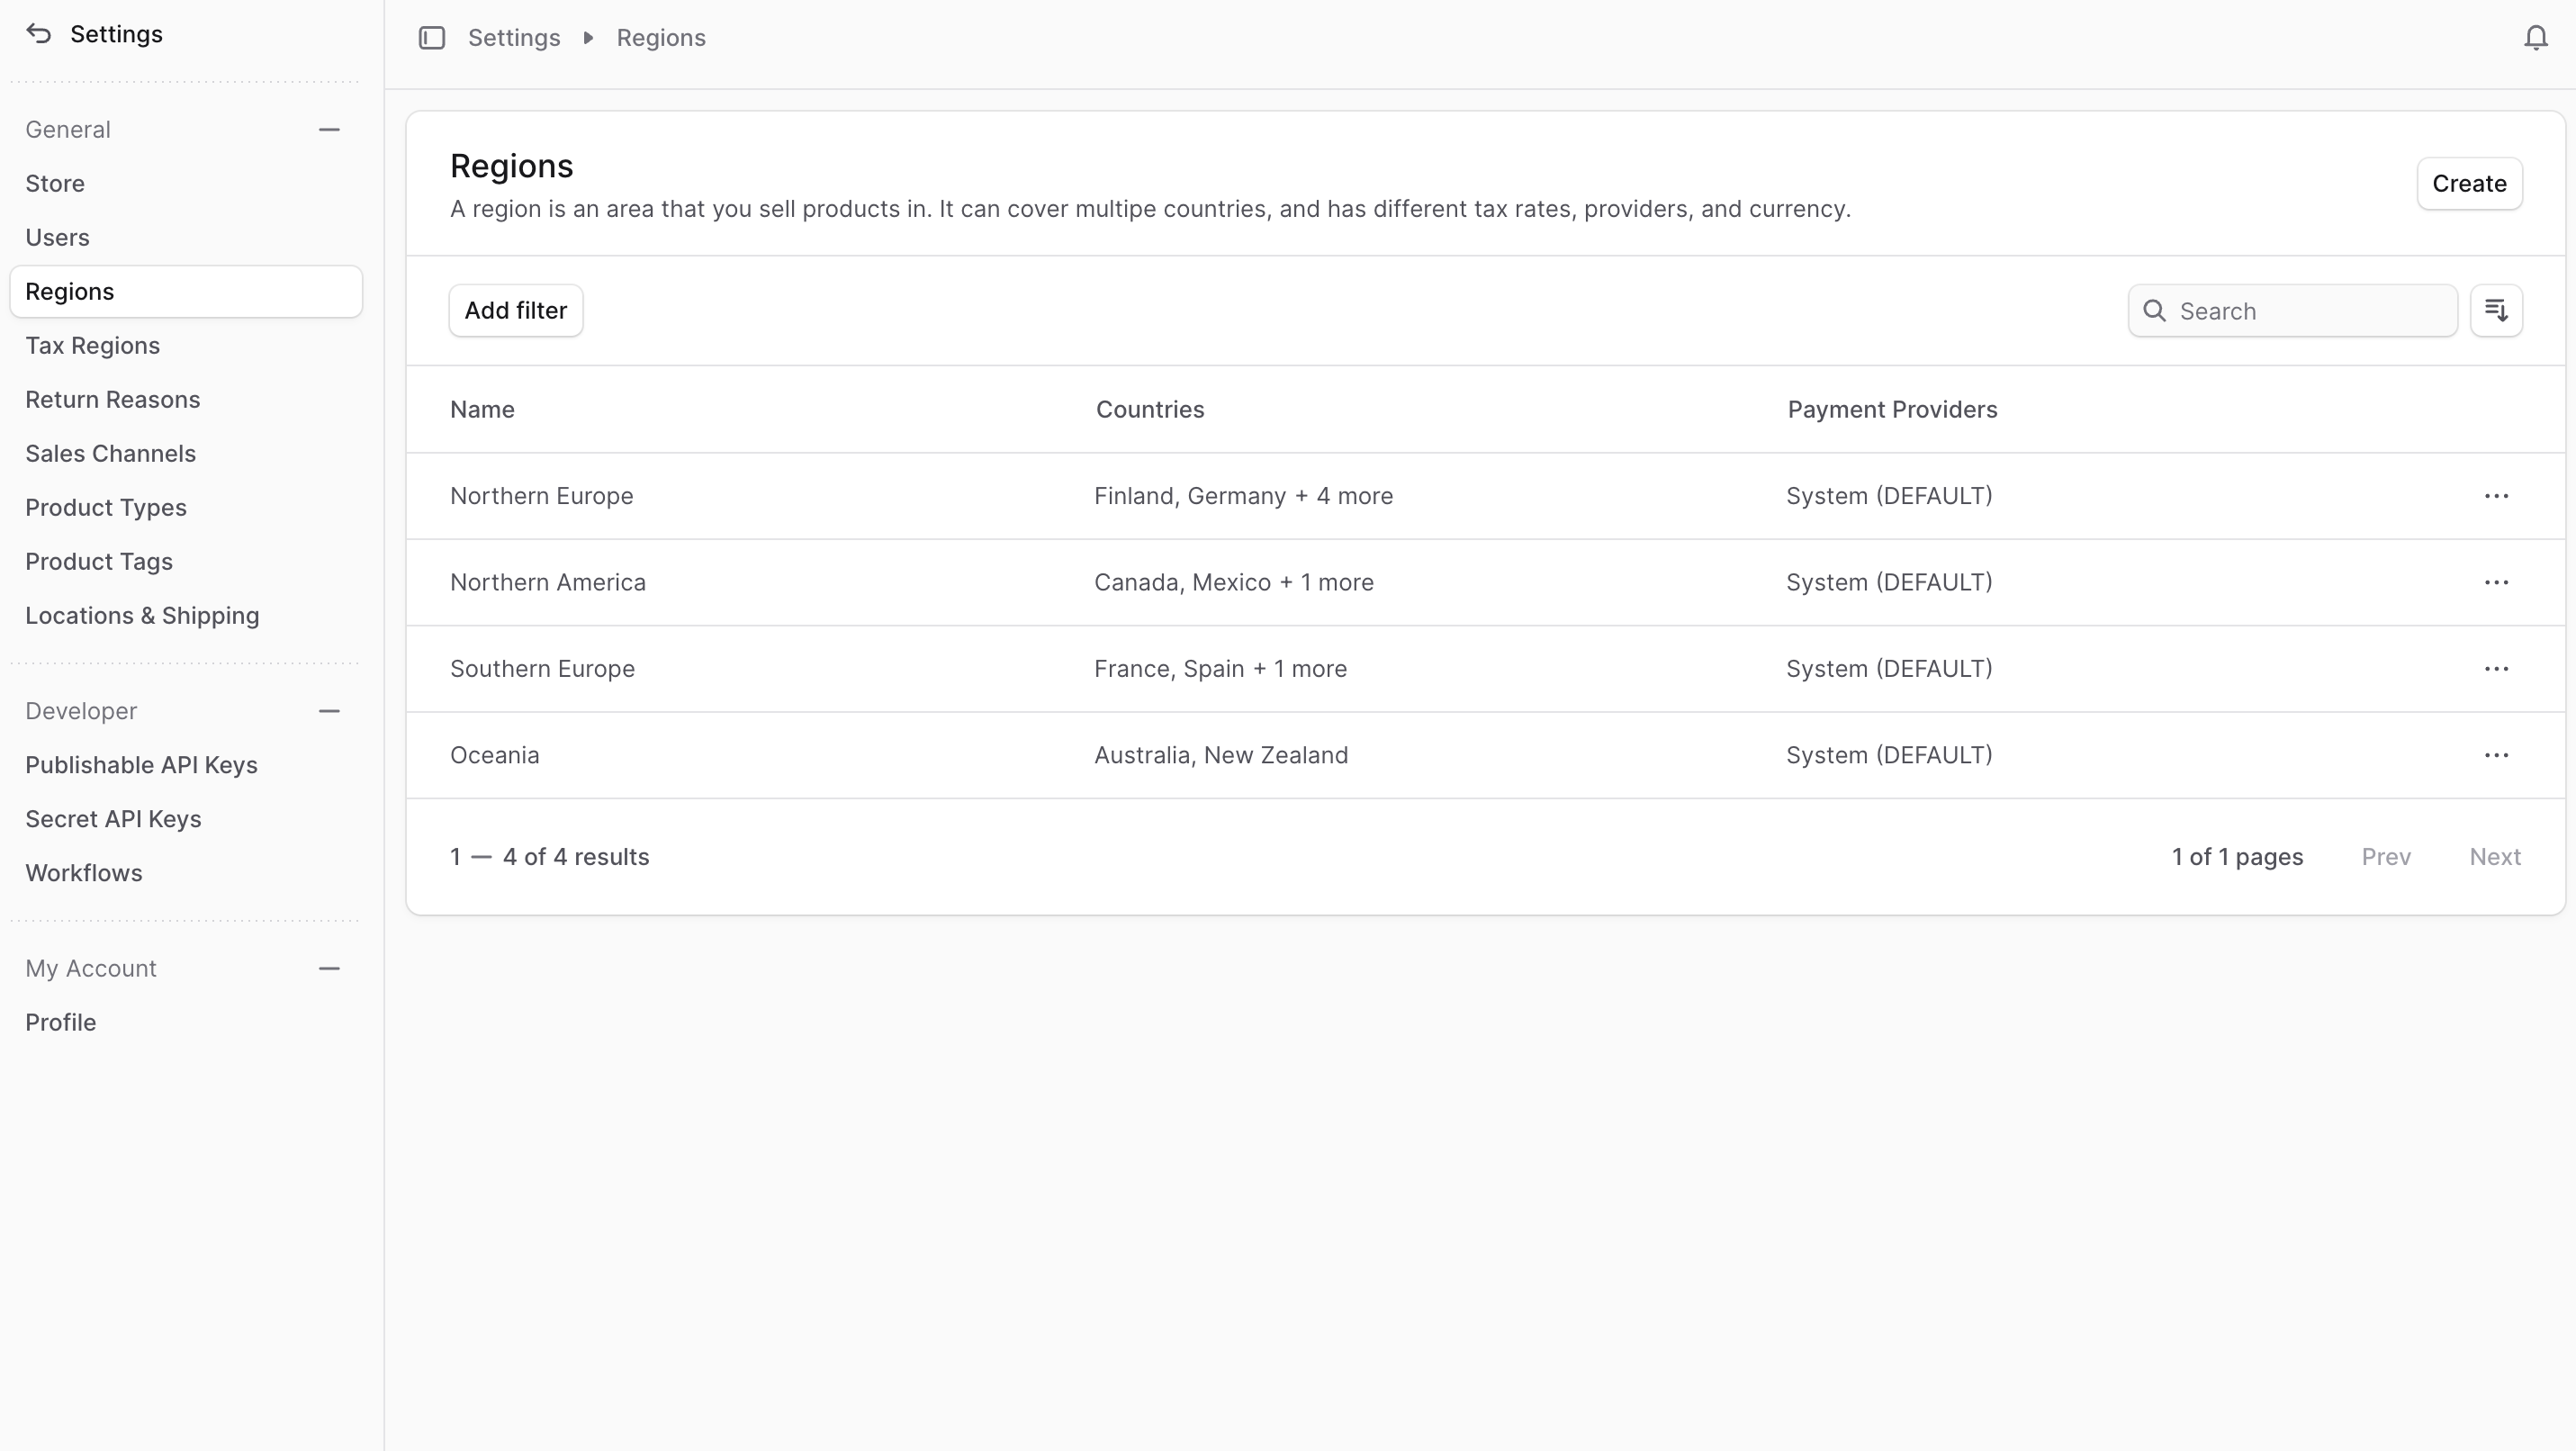
To view regions in your store, go to Settings → Regions. Here, you can see a list of all the regions you have set up. You can also search, filter, and sort the regions to find the one you are looking for.
Create Region
To create a region:
- Go to Settings → Regions.
- Click Create in the main section's header.
- In the form that opens:
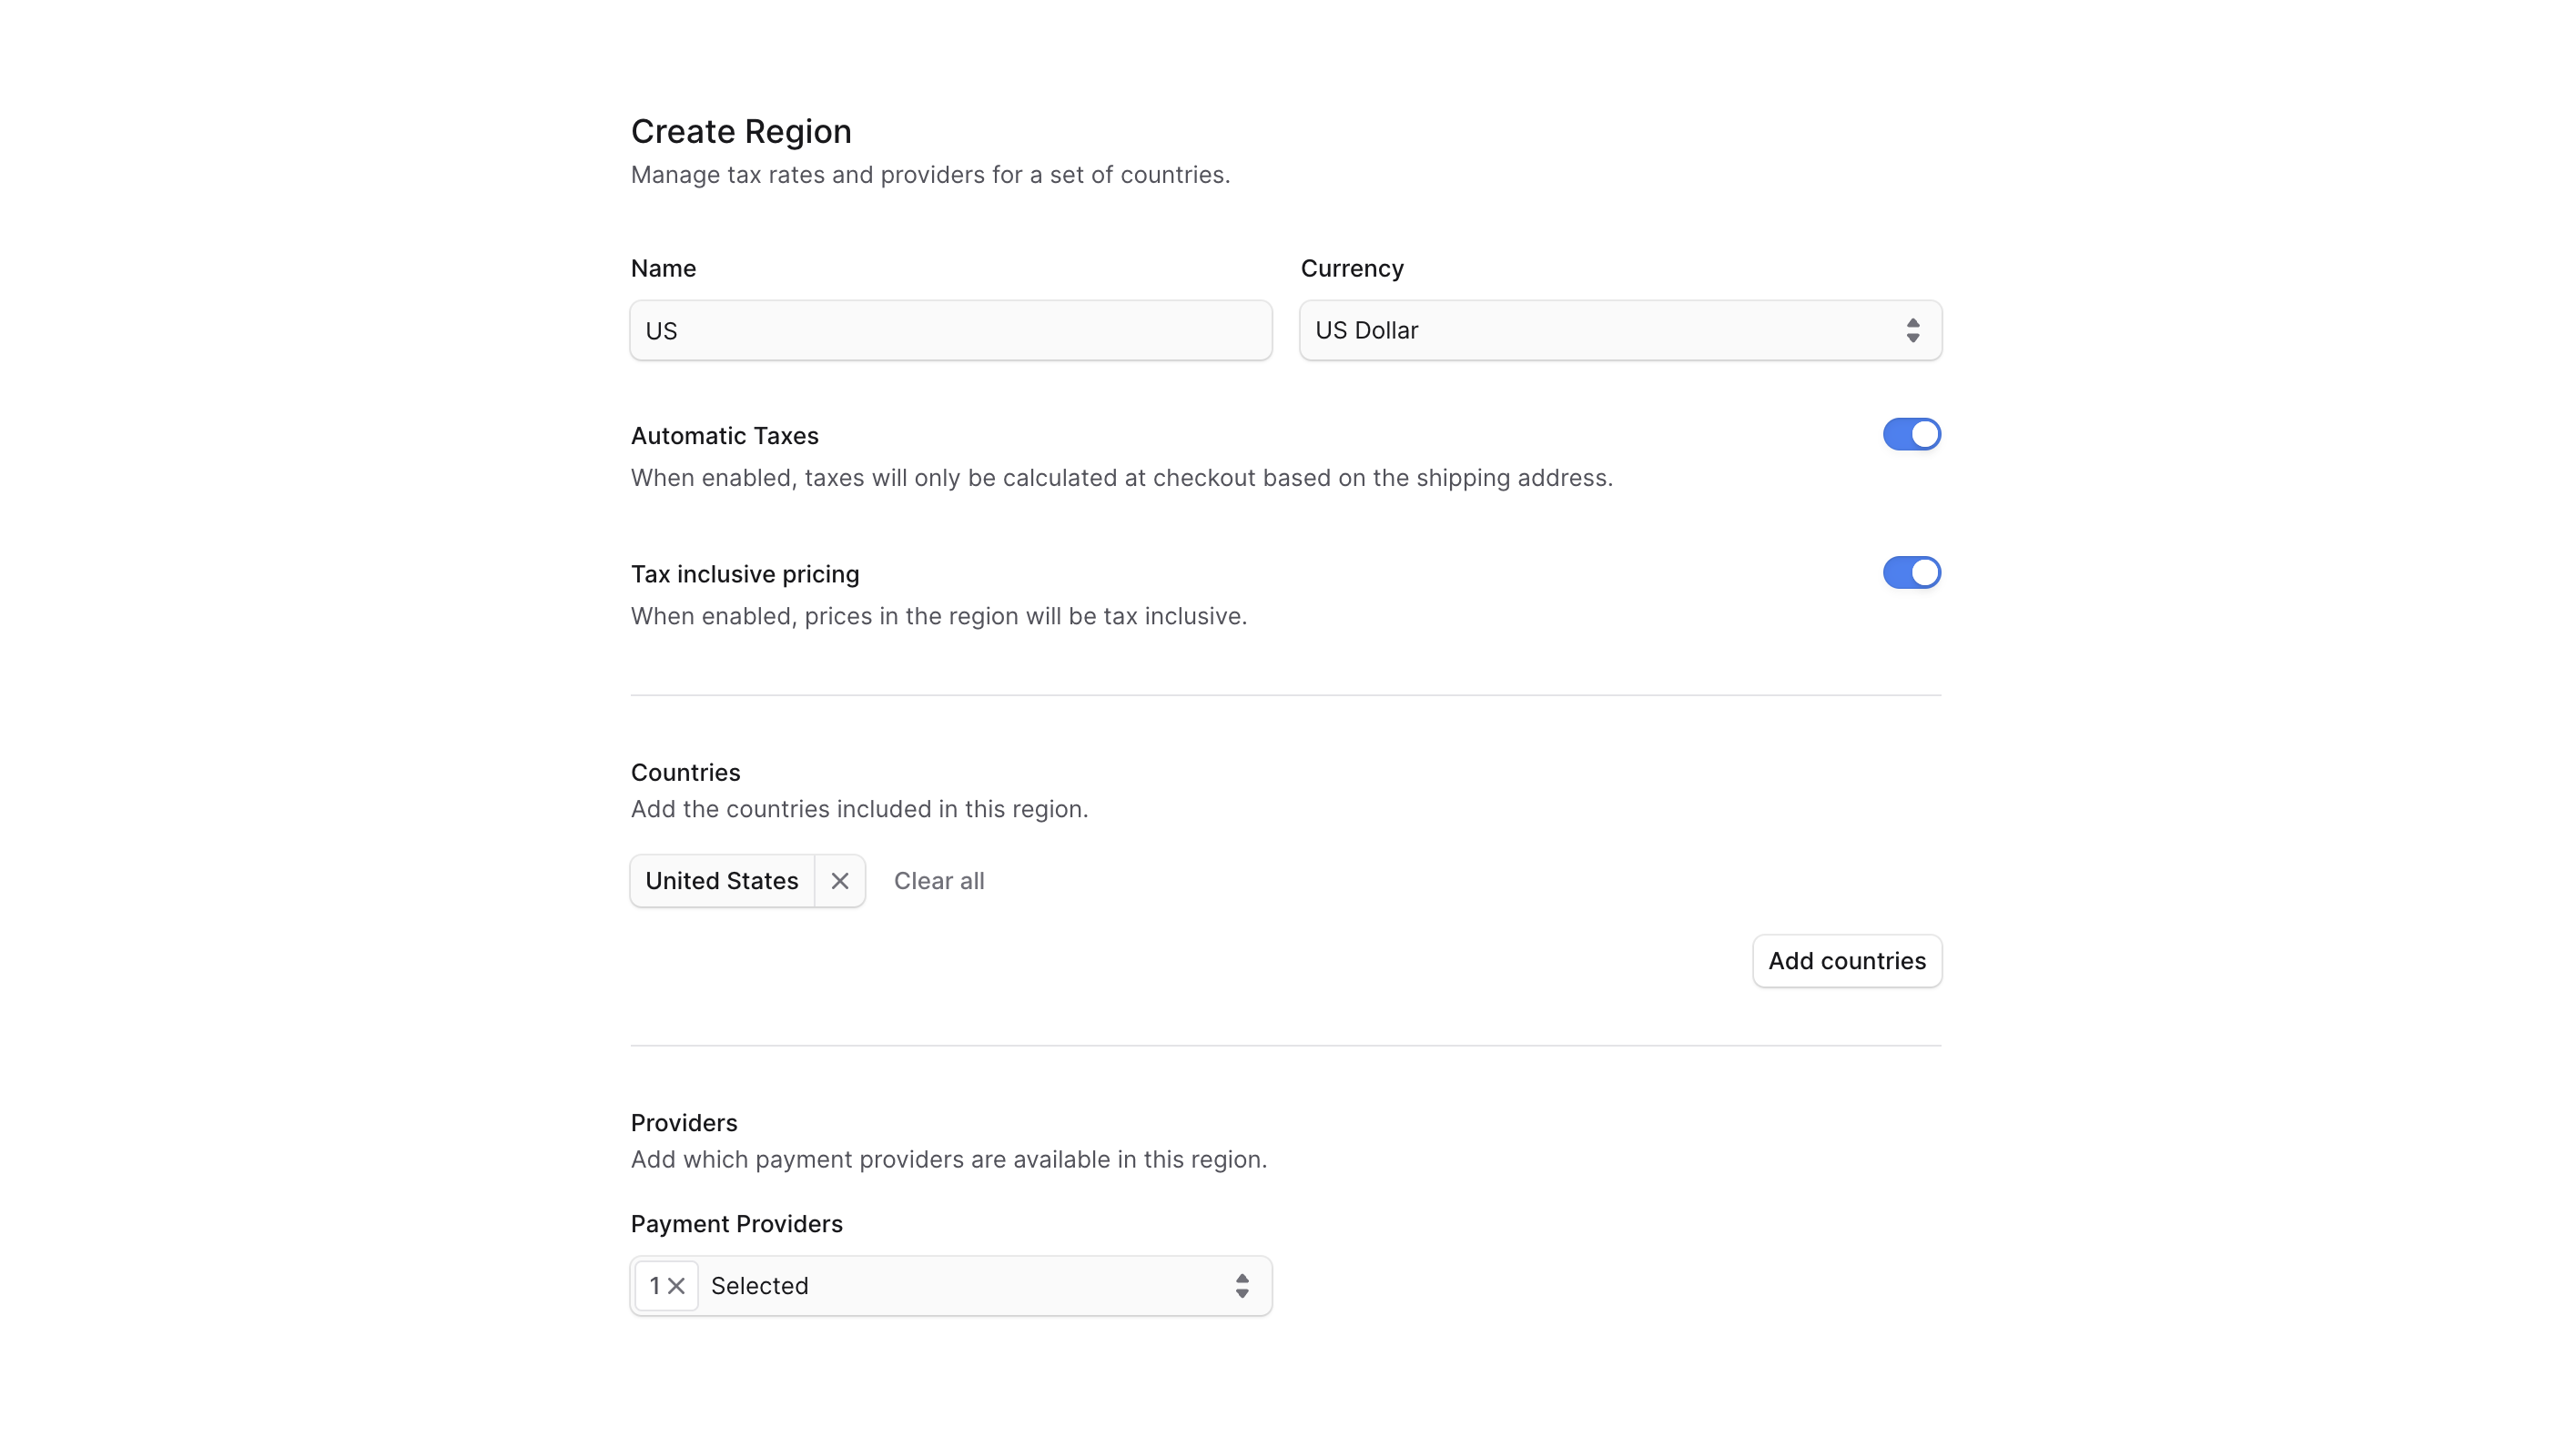
- In Name, enter a name for the region. For example, "Europe".
- In Currency, select the region's currency. A region can only have one currency.
- If you don't want taxes to be calculated automatically during checkout, disable the Automatic Taxes toggle. This is mostly useful for developers and should be administered by your technical team.
- To enable tax-inclusive pricing, toggle Tax inclusive pricing.
- Under Countries, add the countries that are part of the region:
- Click Add countries.
- Check the countries to add to the region.
- Click Save.
- In Payment Providers, choose the payment providers that customers in this region can use to pay for their orders.
- When you're done, click Save.
View Region Details
To view the details of a region:
- Go to Settings → Regions.
- Click the region you want to view.
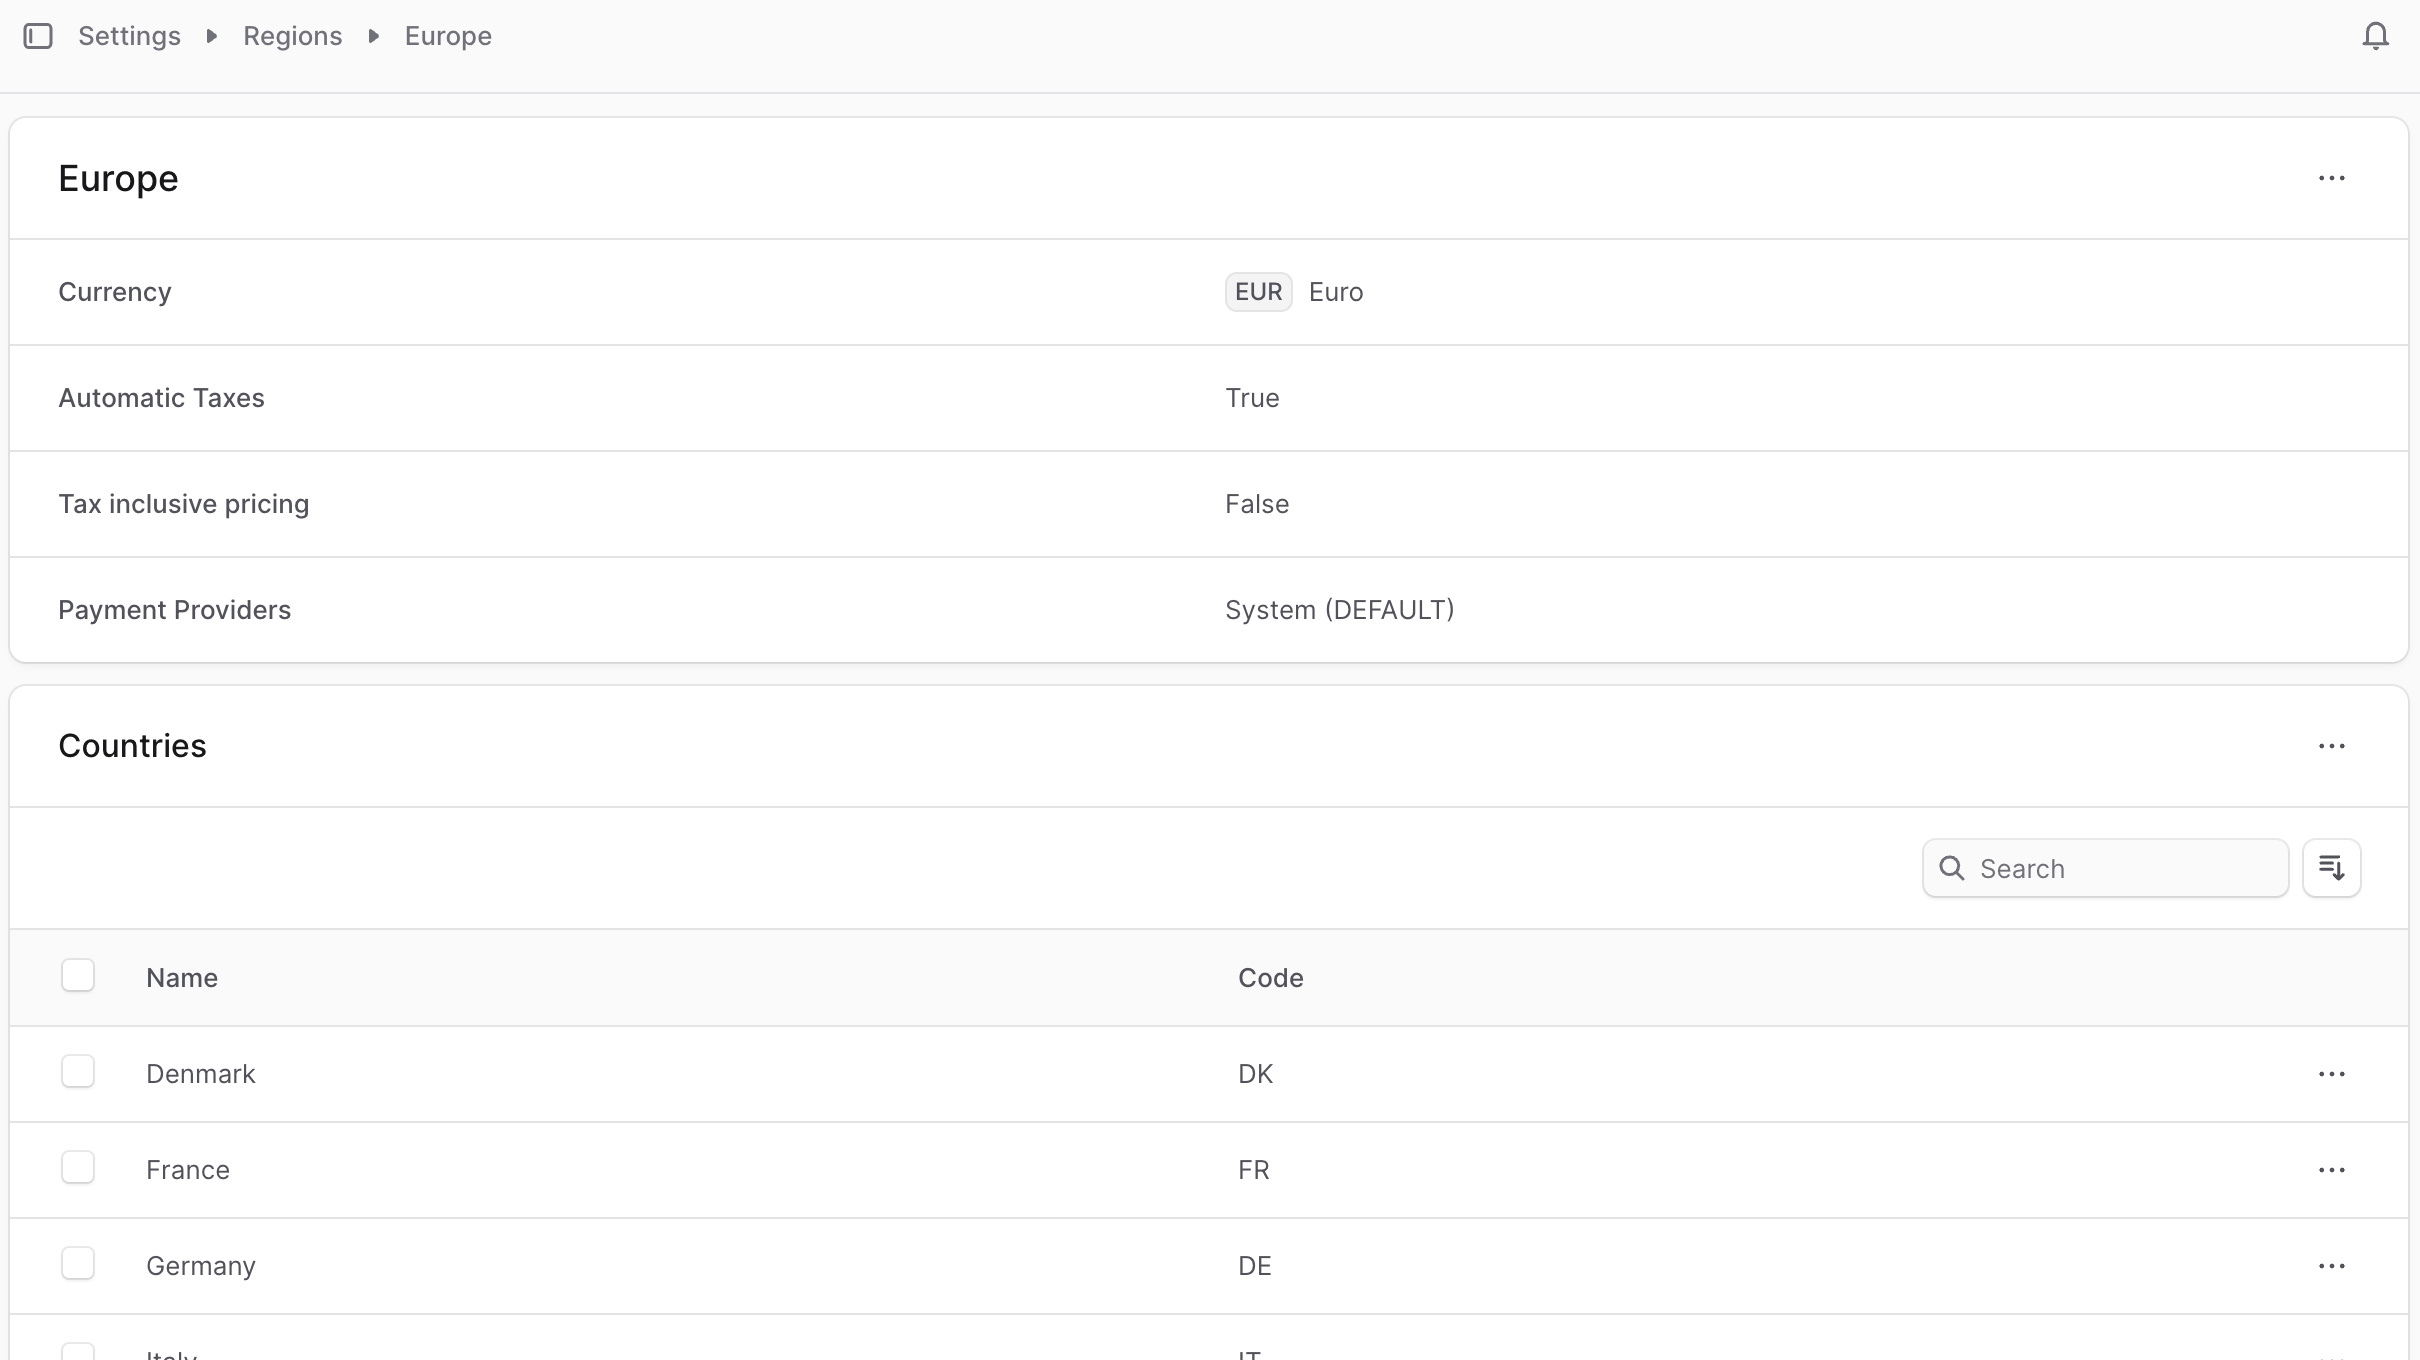
This opens the region's details page where you can also manage the region.
Edit Region Details
To edit a region's details:
- Go to the region's details page.
- Click the three-dot menu in the first section's header.
- Choose Edit from the dropdown.
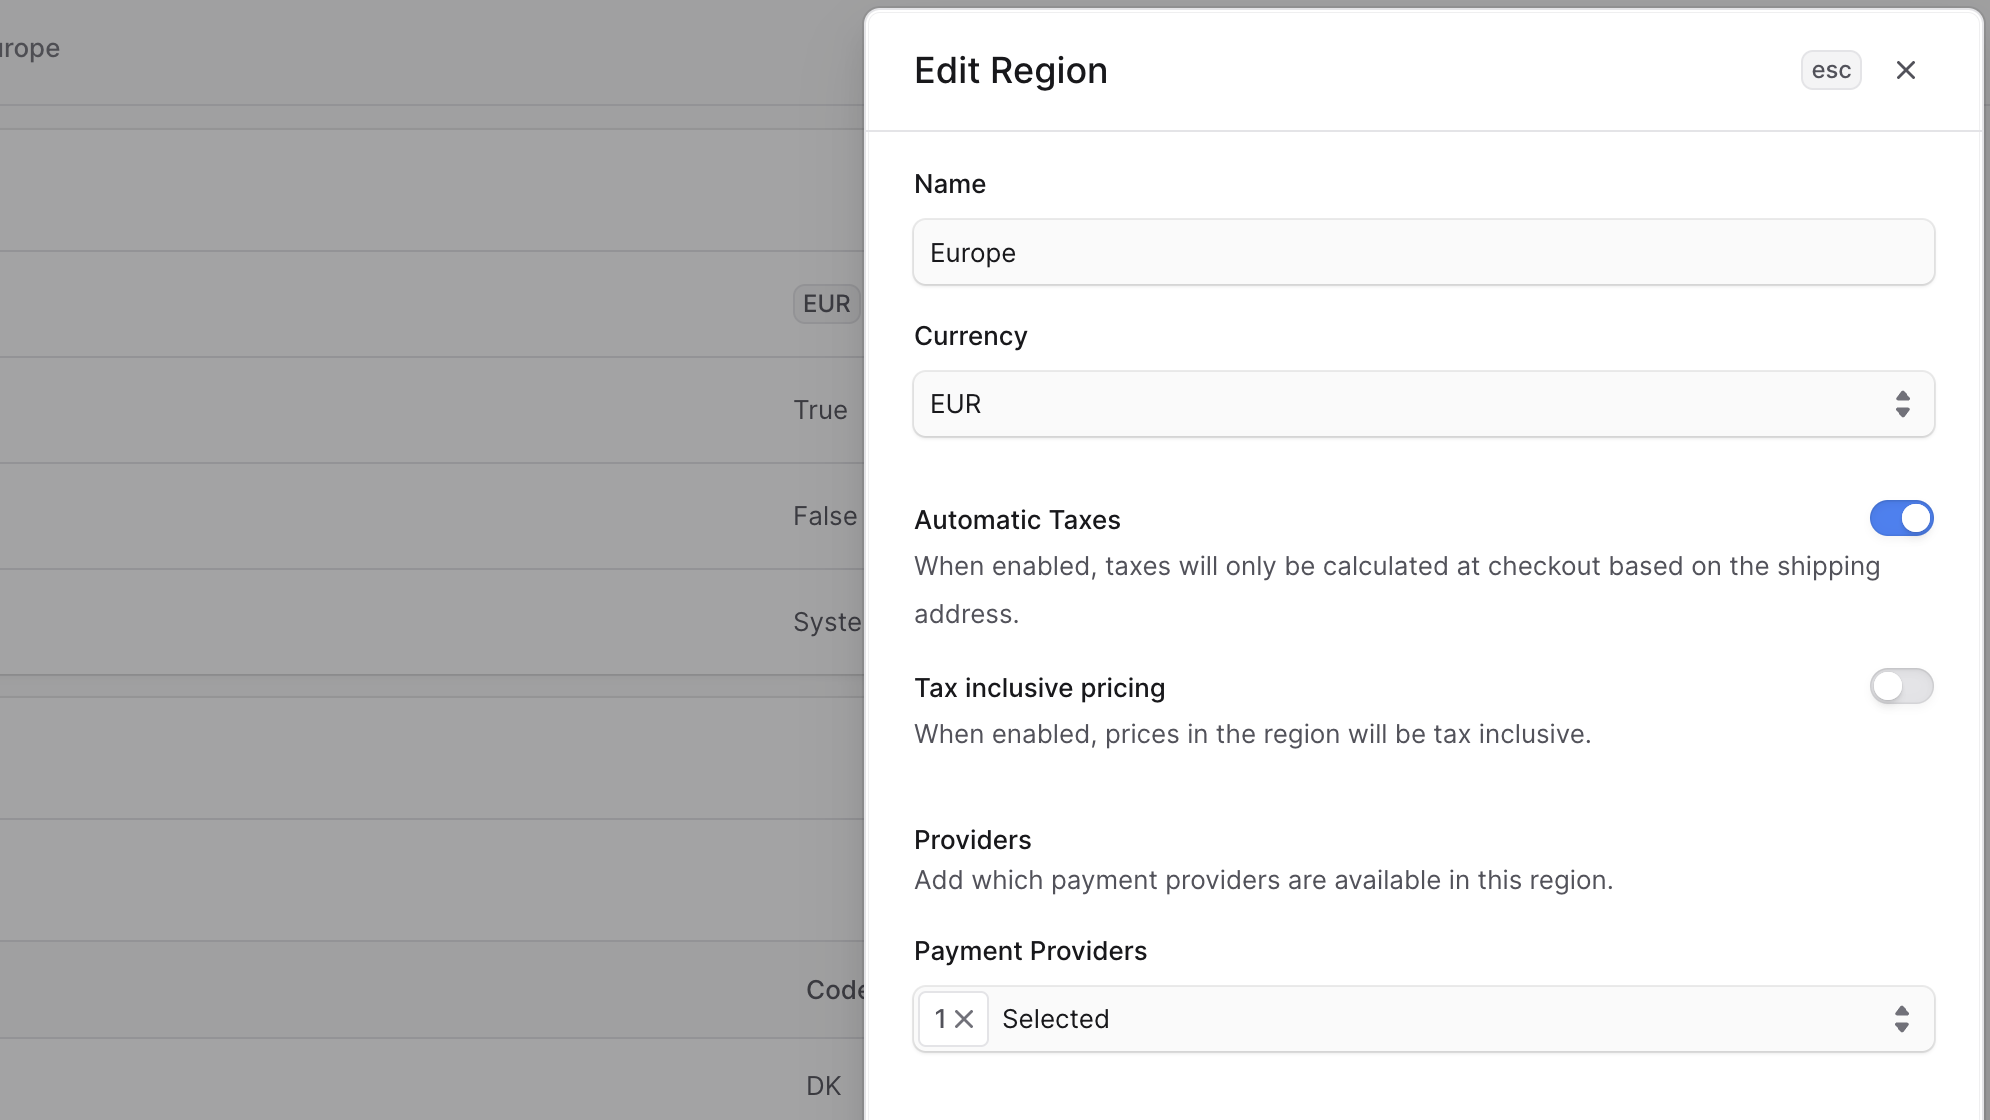
- In the side window that opens, edit the region's name, currency, payment providers, and settings for automatic taxes and tax-inclusive pricing.
- When you're done, click Save.
Manage Region's Countries
You can manage a region's countries to add or remove them from the region.
Add Countries to Region
To add countries to a region:
- Go to the region's details page.
- Click the three-dot menu in the Countries section header.
- Choose Add countries from the dropdown.
- In the list that opens, check the countries you want to add to the region.
- When you're done, click Add.
Remove Countries from Region
To remove countries from a region:
- Go to the region's details page.
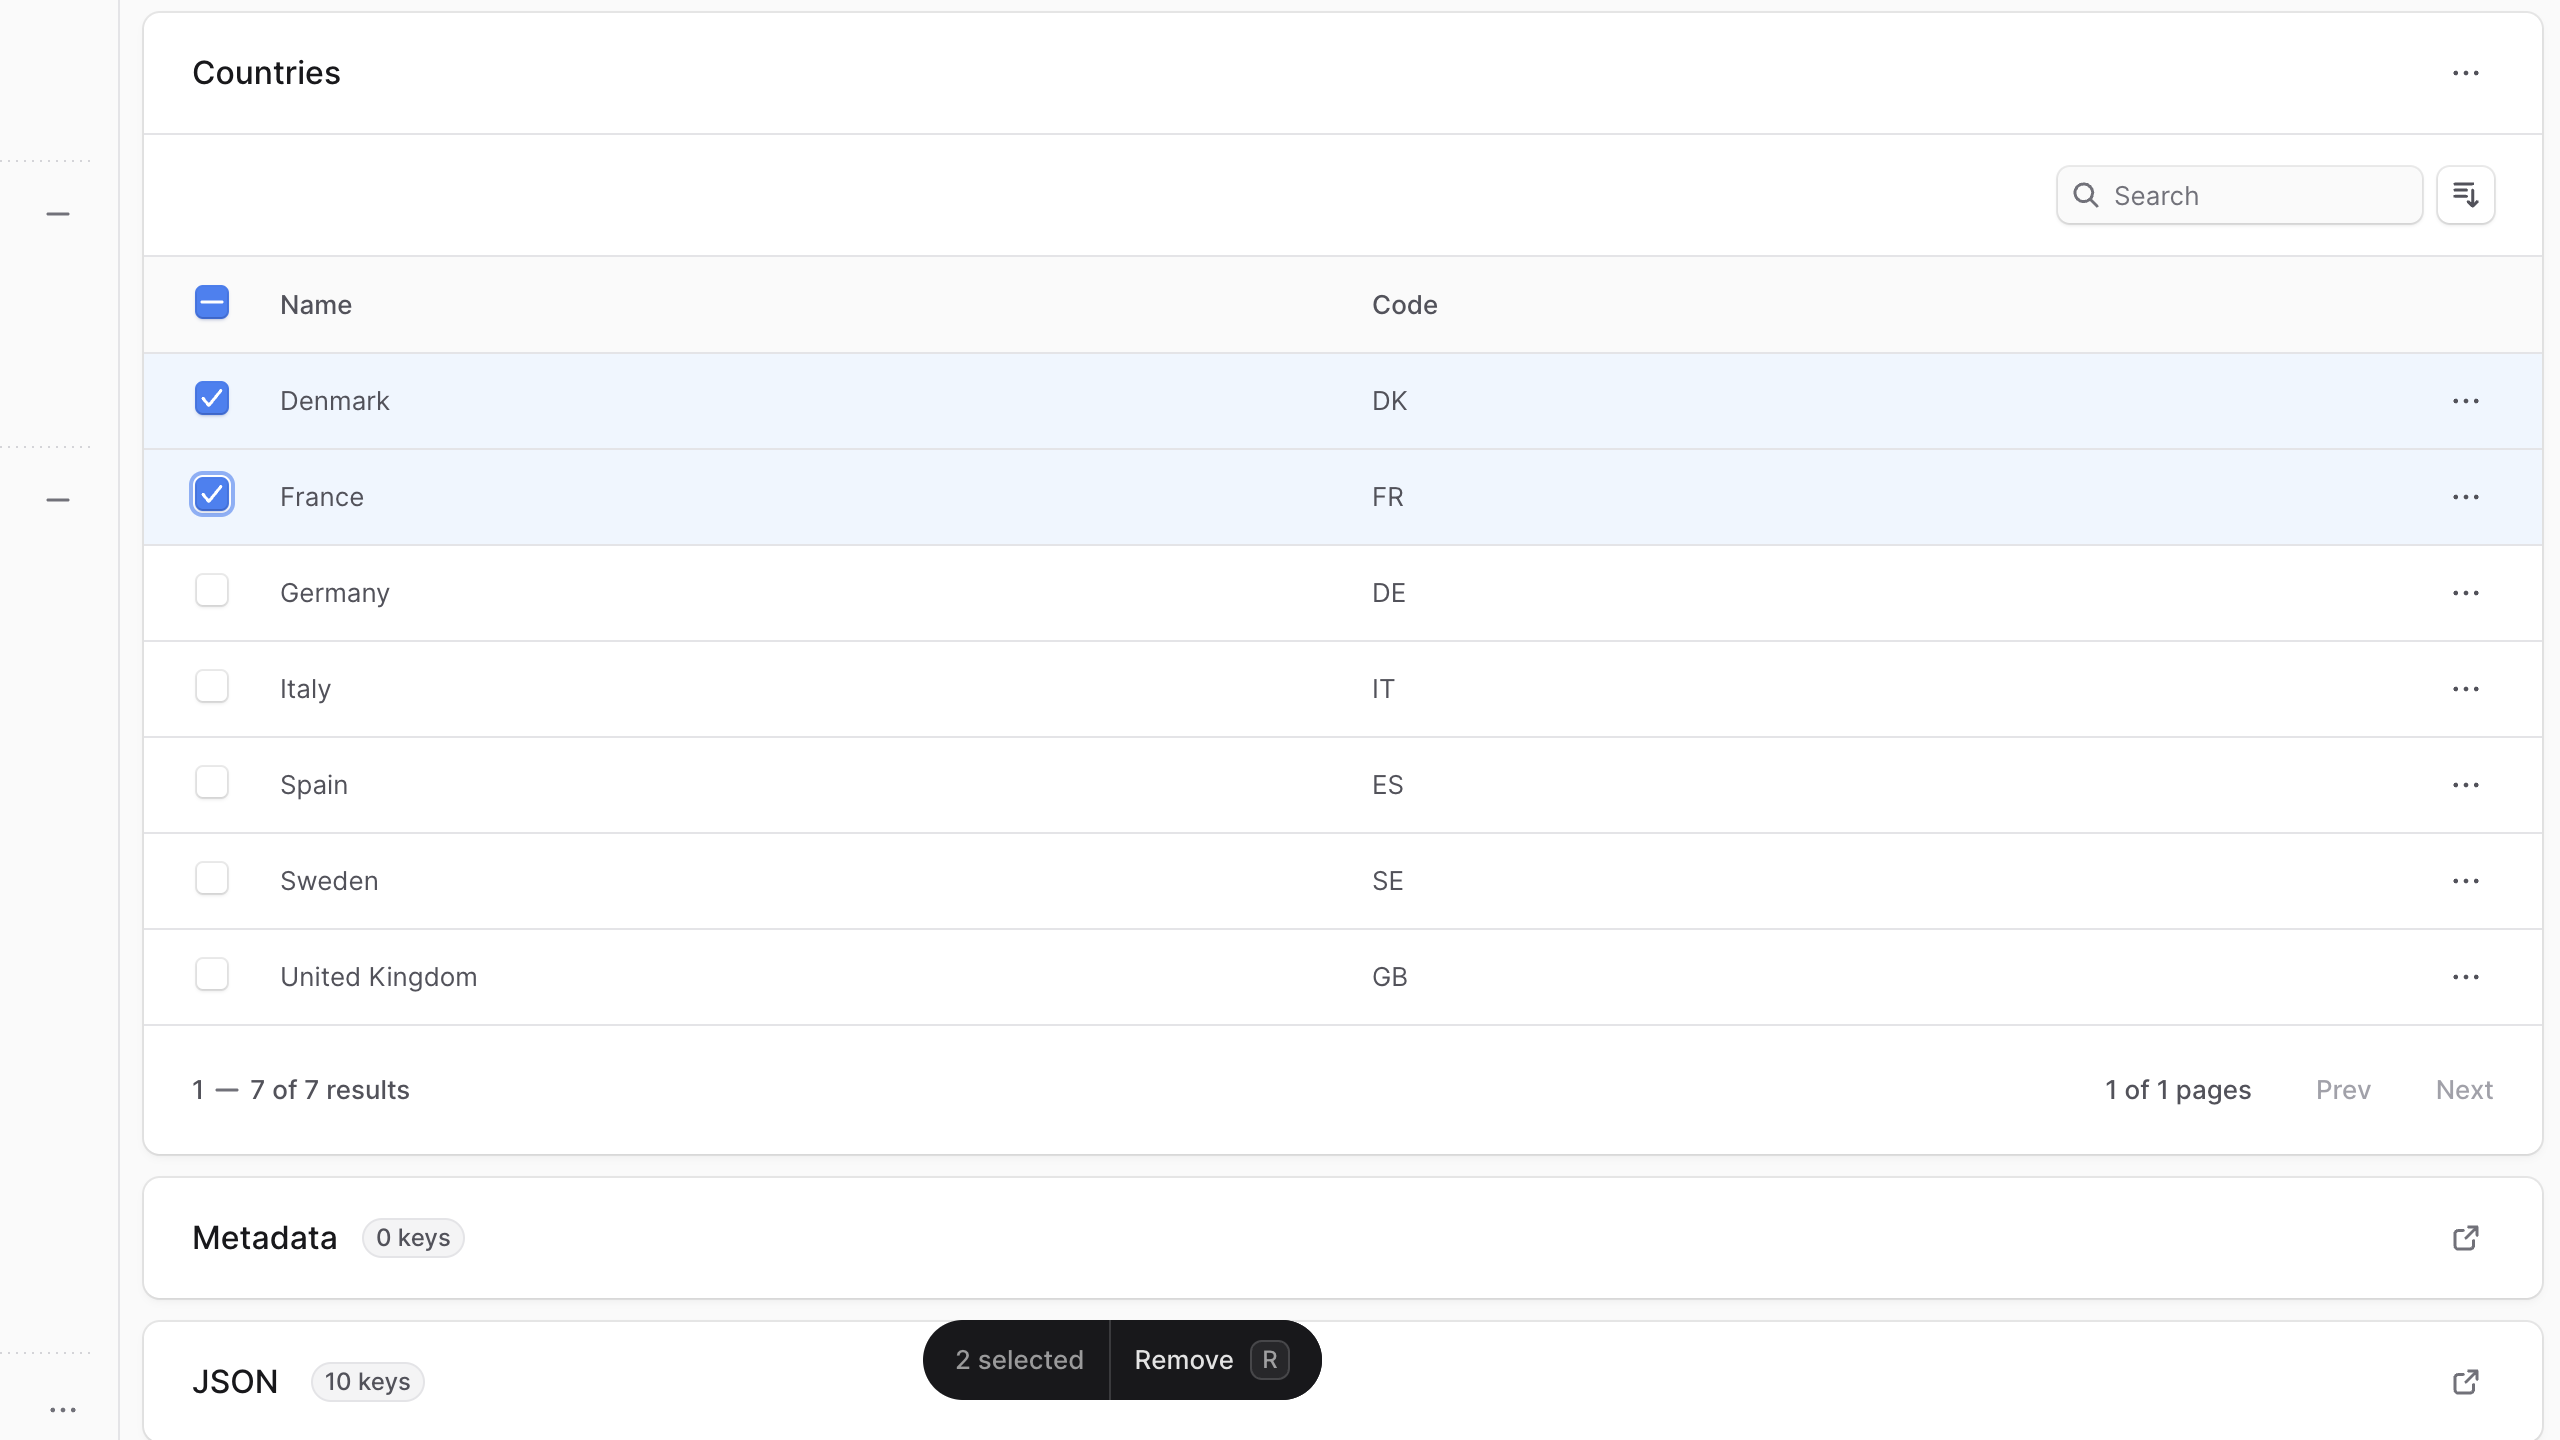
- Under the Countries section, check the countries you want to remove from the region.
- Press R or click Remove at the bottom center of the page.
- Confirm by typing "Remove" in the pop-up and clicking Remove.
Manage Region Metadata
Metadata is custom data that can be associated with the region in key-value pairs. This is usually used by developers for custom integrations or to store additional information about the region.
To edit the region's metadata:
- Click the arrow icon in the Metadata section.
- In the side window that opens:
- Manage the key-value pairs in the table.
- To add a new row of key-value pairs before or after a row:
- Hover over the row and click the three-dot menu at its end.
- Choose Insert row above or Insert row below from the dropdown.
- To delete a row of key-value pairs:
- Hover over the row and click the three-dot menu at its end.
- Choose Delete row from the dropdown.
- When you're done, click Save.
Delete Region
Deleting a region is irreversible.
To delete a region from your store:
- Go to the region's details page.
- Click the three-dot menu in the first section's header.
- Choose Delete from the dropdown.
- Confirm by typing the region's name in the pop-up and clicking Delete.