Manage Invites
Learn how to invite users to join your store from the vendor dashboard.
On this page
In this guide, you'll learn how to manage invites in your store.
Add Users through Invites
To add a new user to your team, you must invite them. The user can receive a notification to sign up, but you can also manually send them the invite link.
Invite a User
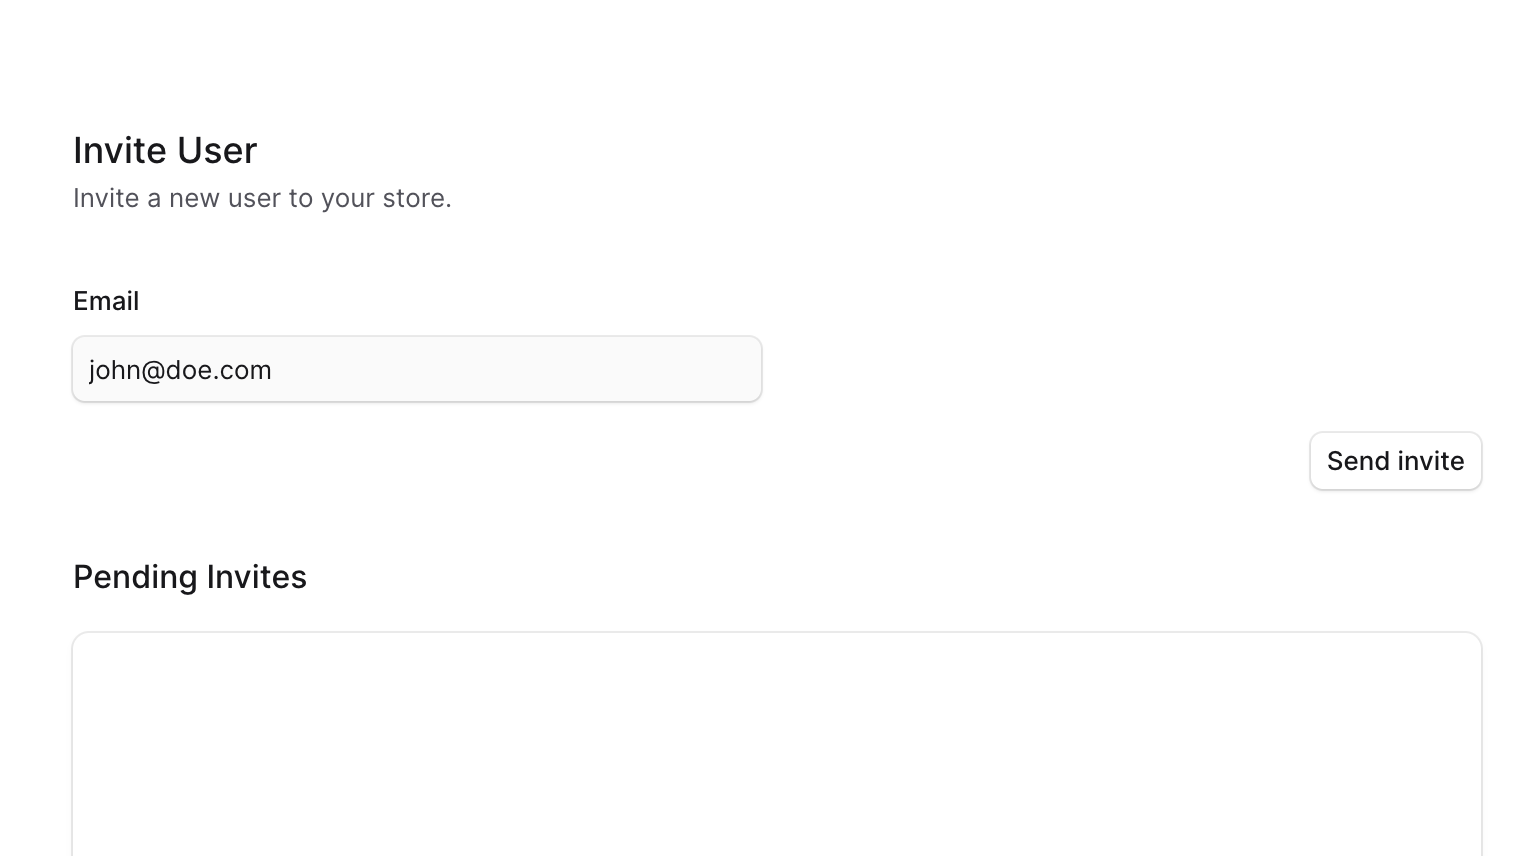
To send an invite to a user:
- Go to Settings → Users.
- Click Invite.
- Enter the user's email.
- When you're done, click Send invite.
View Pending Invites
To view pending invites:
- Go to Settings → Users.
- Click Invite.
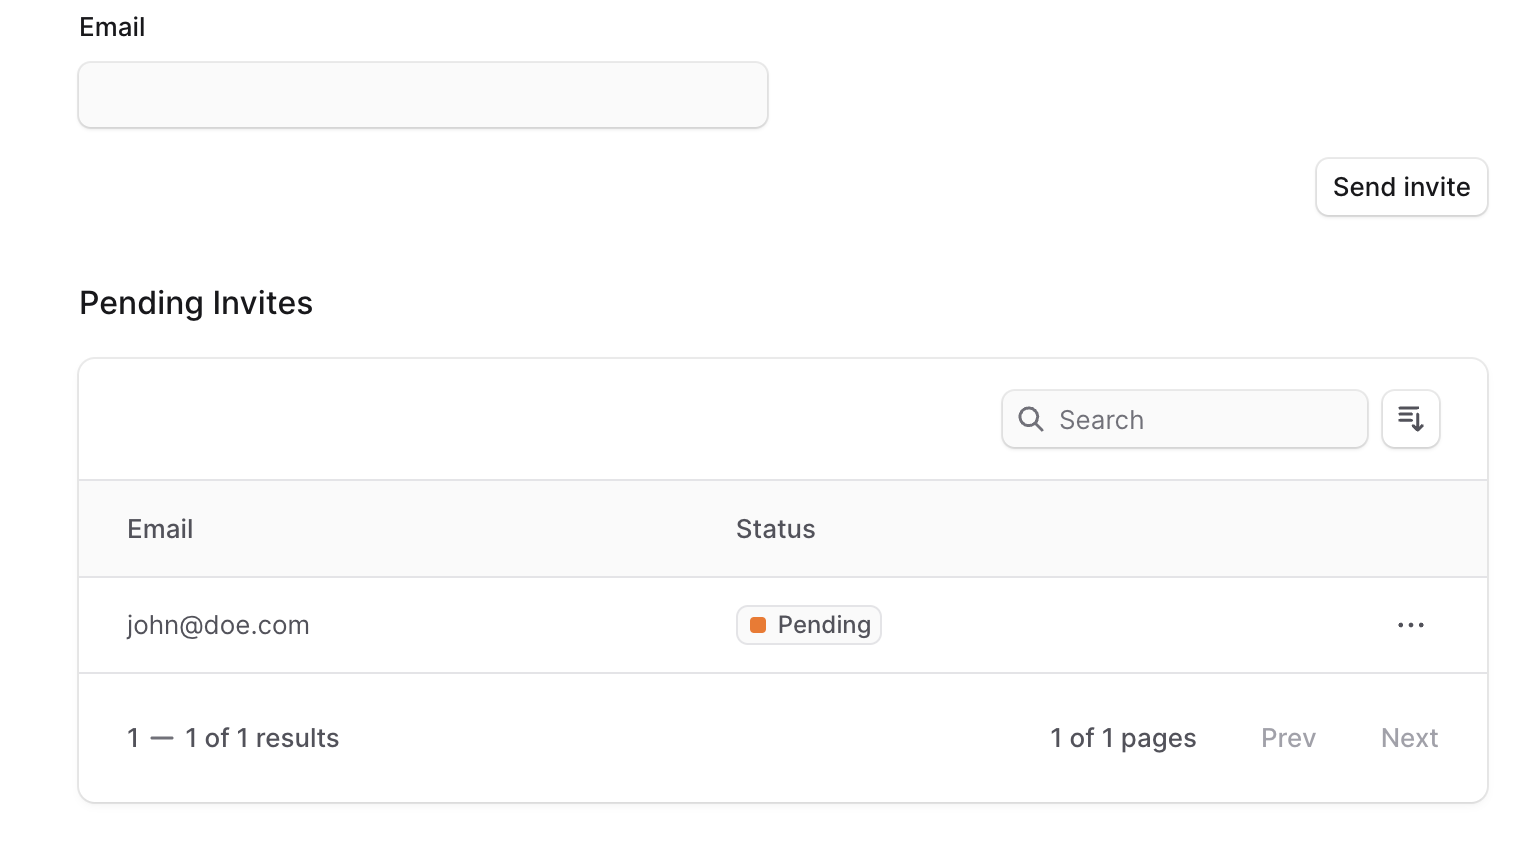
- Below the form, you'll find a Pending Invites table with all invites that haven't been accepted yet.
Resend an Invite
You can resend an invite if the user hasn't received it, they lost their link, or the invite has expired.
To resend an invite to a user:
- Go to Settings → Users.
- Click Invite.
- In the Pending Invites table, find the user and click the three-dot menu.
- Choose Resend invite from the dropdown.
A notification will be sent to the user if email notifications are configured for your store.
Get Invite Link
In addition to sending the user an invite, you can copy the invite link and send it manually to the user.
To copy the invite link:
- Go to Settings → Users.
- Click Invite.
- In the Pending Invites table, find the user and click the three-dot menu.
- Choose Copy invite link from the dropdown.
You can then send this link to the user to sign up.
Delete Invite
Deleting an invite revokes it, and the user won't be able to sign up using that invite link.
To delete an invite:
- Go to Settings → Users.
- Click Invite.
- In the Pending Invites table, find the user and click the three-dot menu.
- Choose Delete from the dropdown.
- Confirm by clicking Delete in the pop-up.